Activity
- Past hour
-
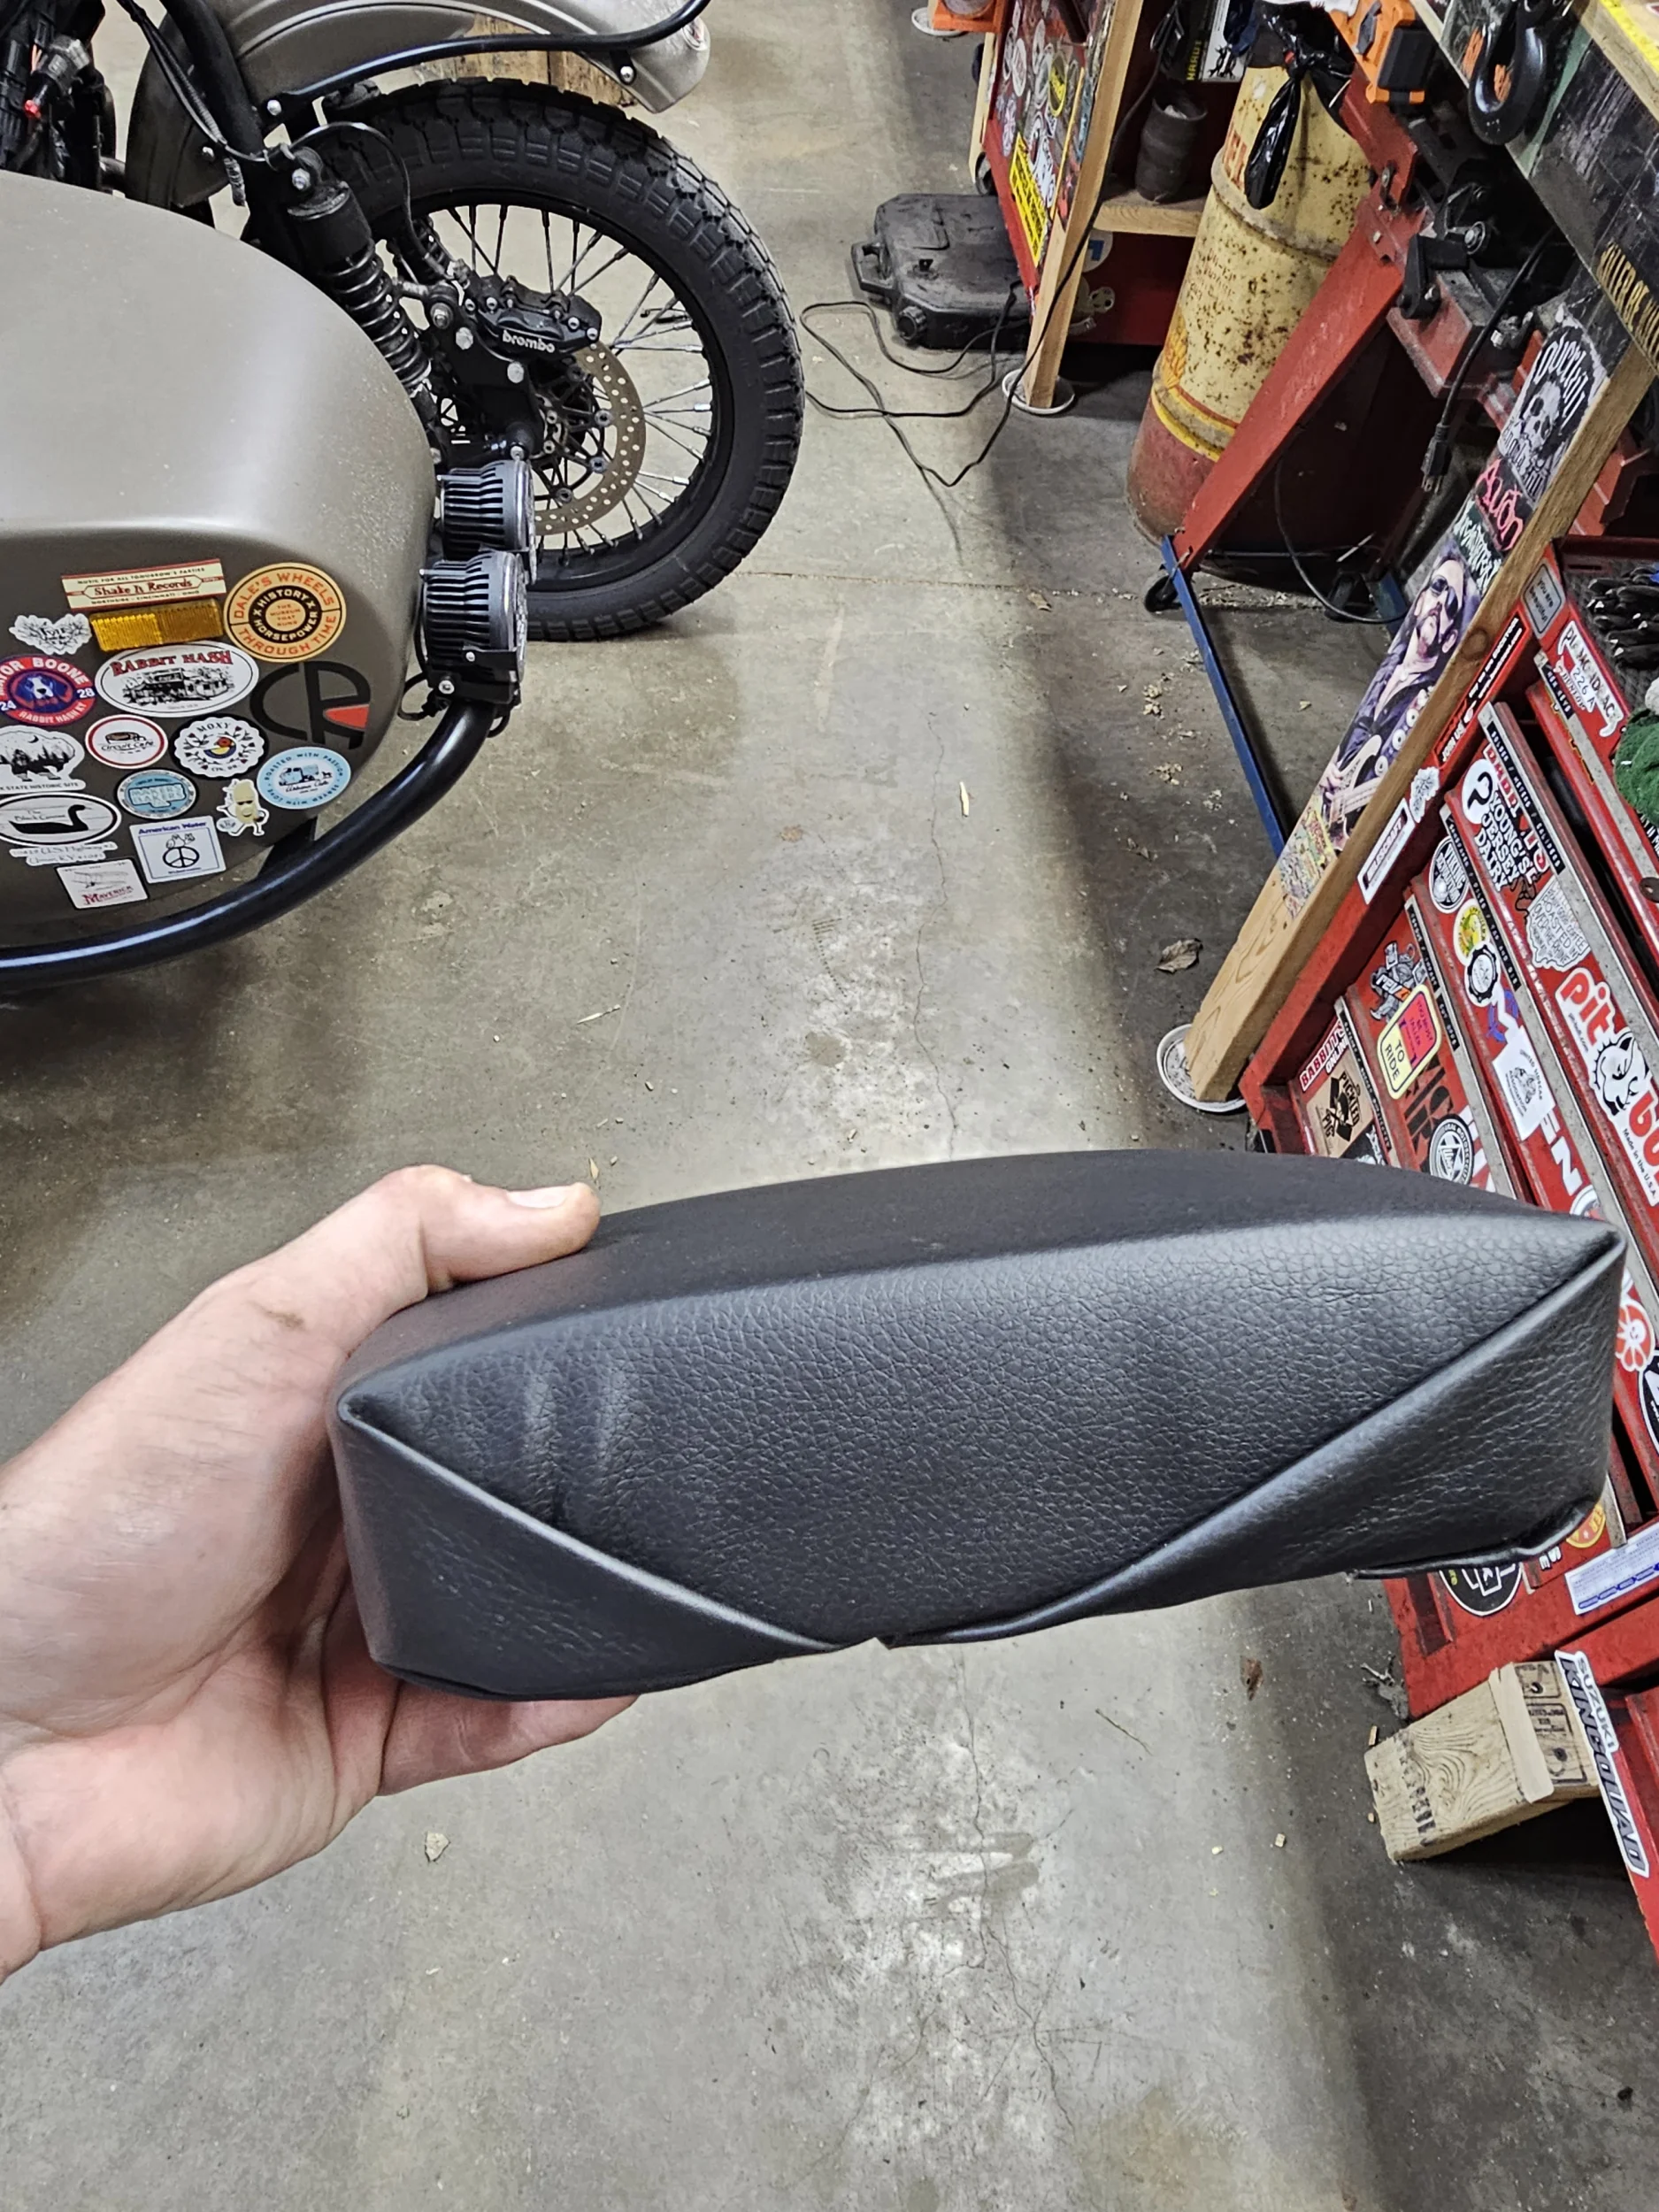
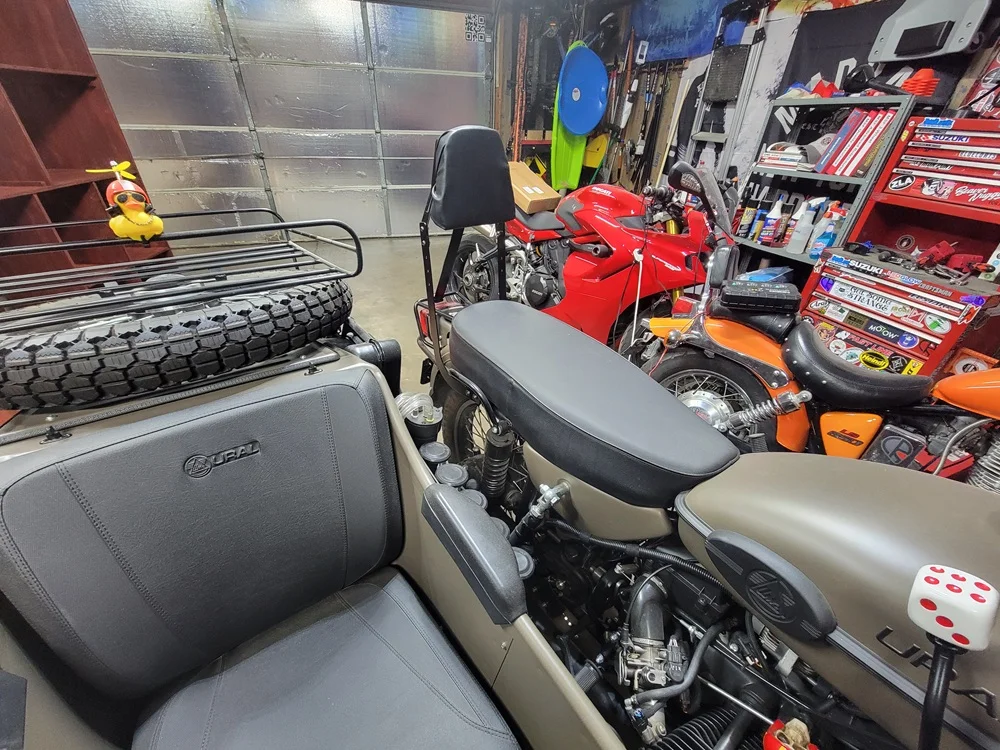
Now on to the part I'm especially terrible at.... Upholstery. I've tried it a few times. I watched YouTube videos. I just ain't good at it. Here's the after shots. Bunch of staples in the back to make sure it doesn't pull loose over time: Here's one of the top corners, they both look the same. Made sure the creases fold "down" so water doesn't run into / behind them: And the bottom: And the front. Hey, looks good from here.

-
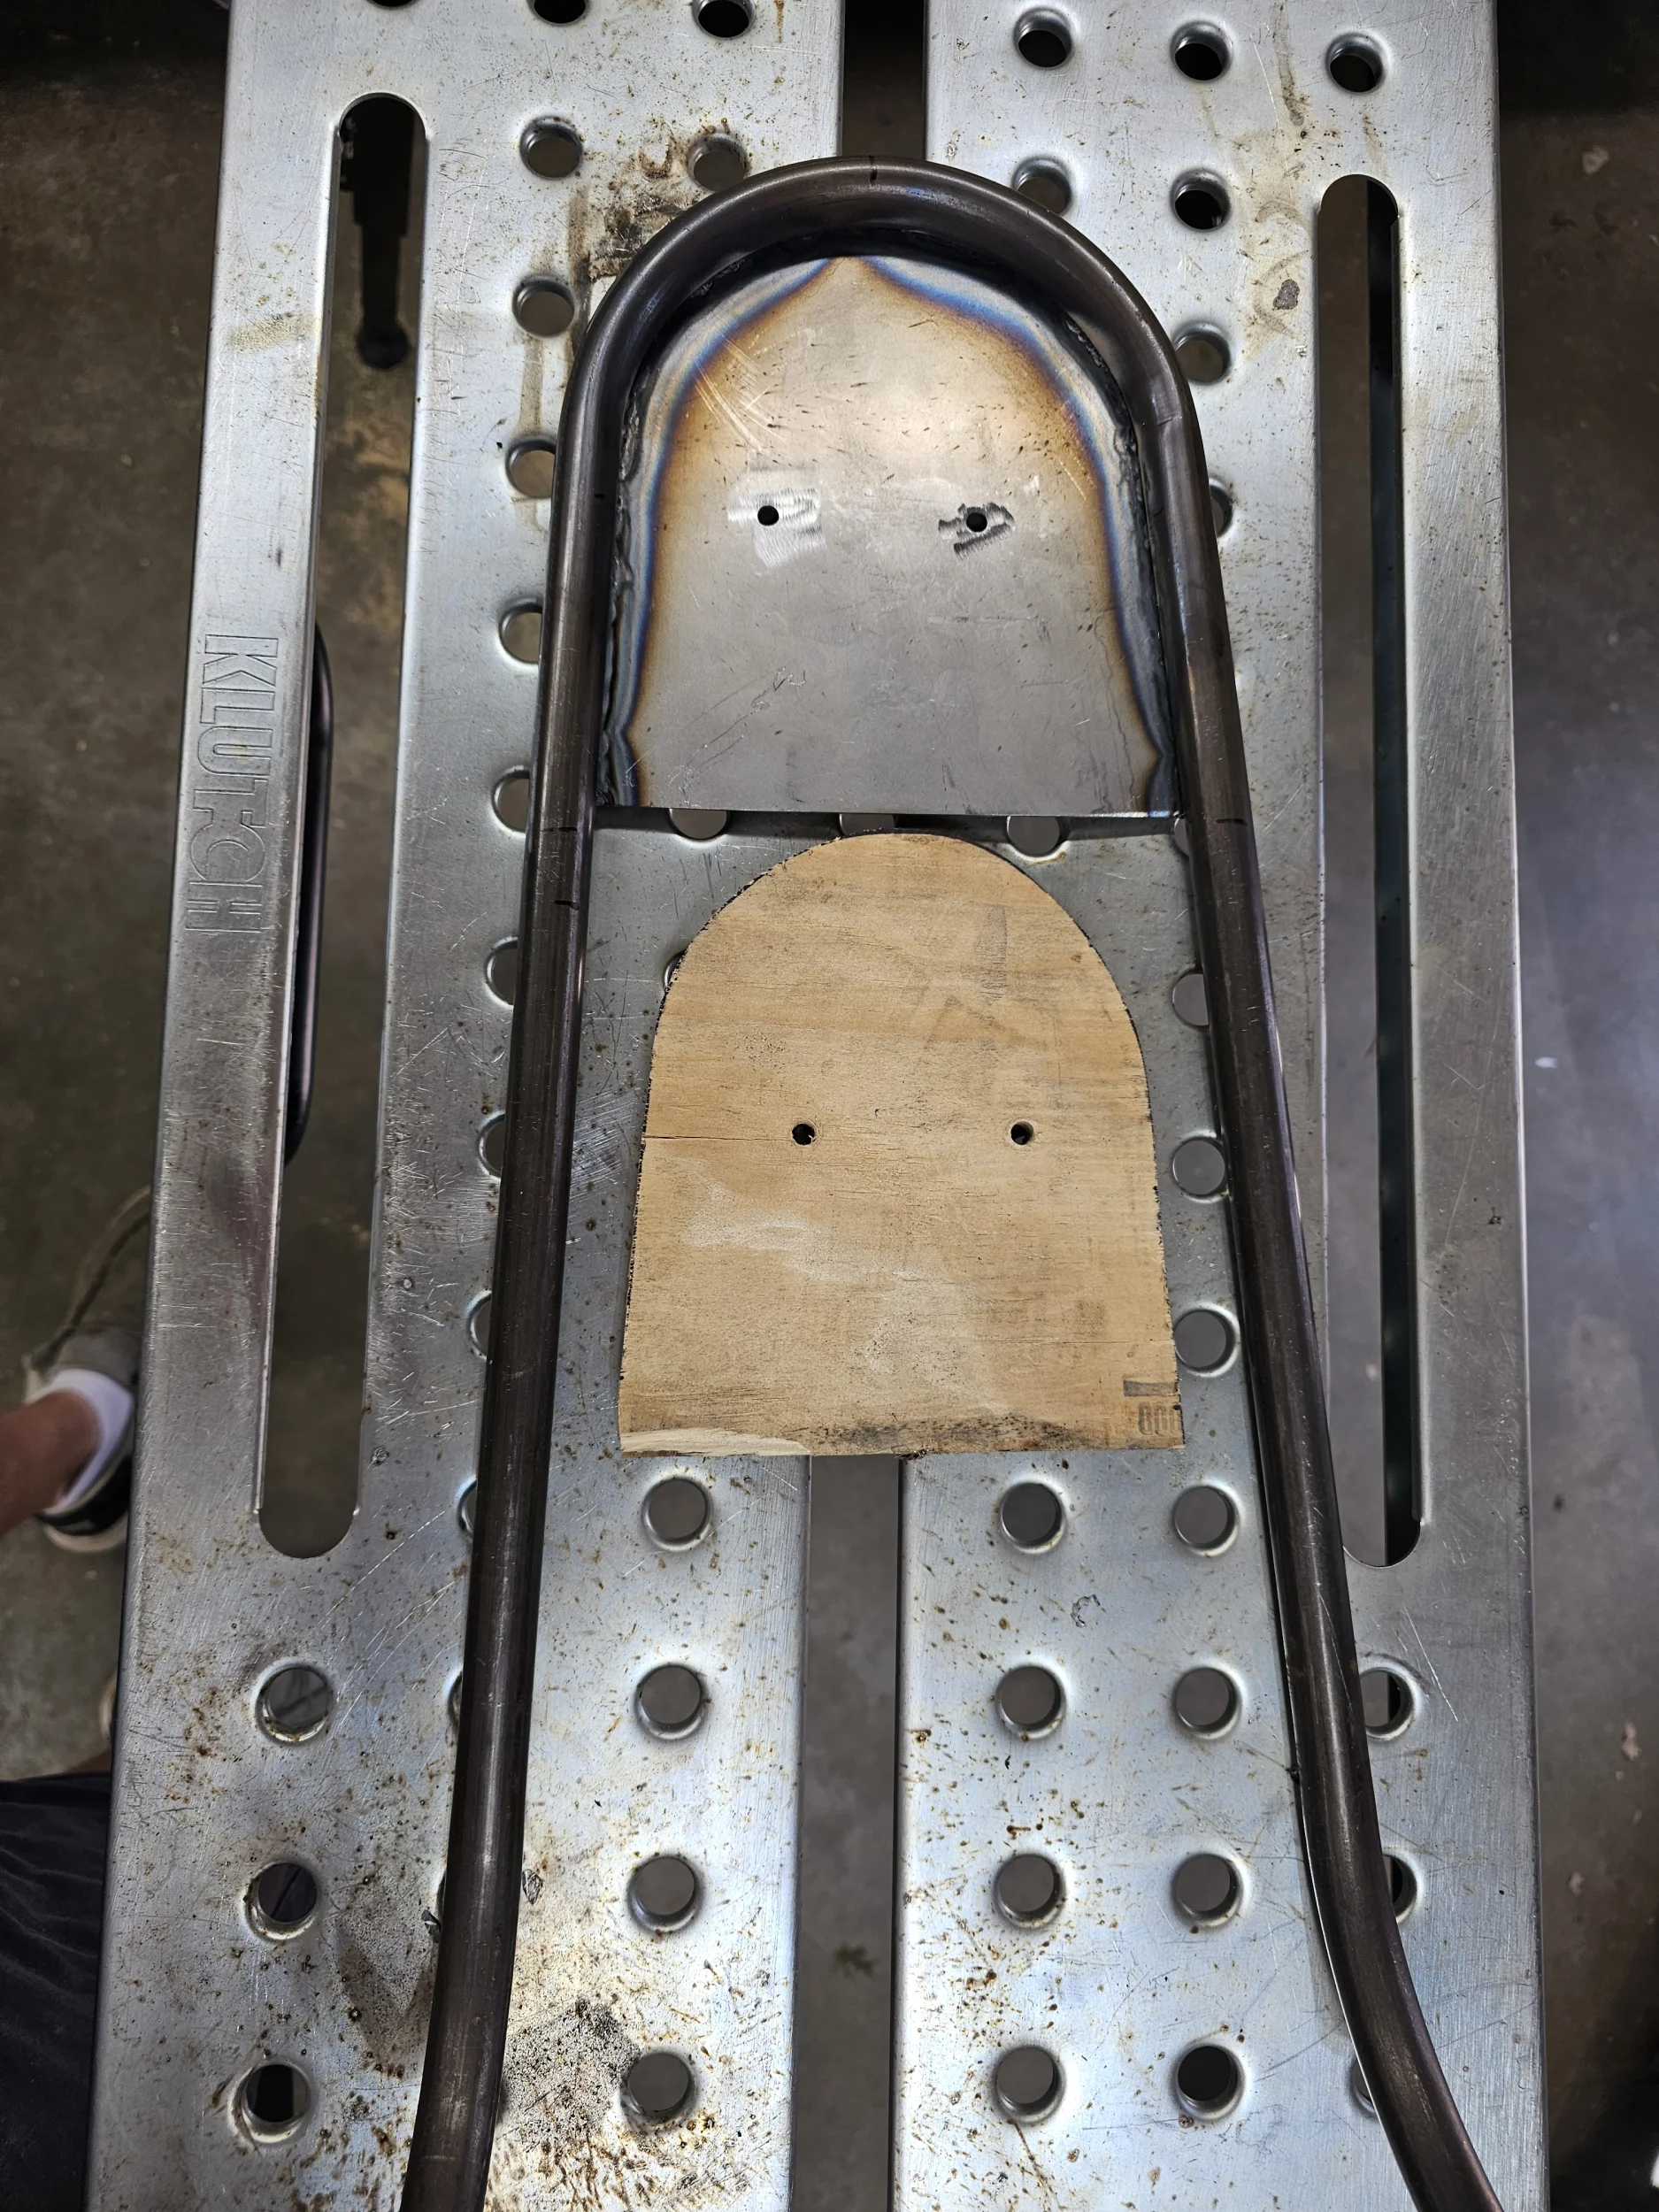
I used the cut-out from before to trace the backrest shape on some plywood. Then took it in an ~inch or so on all sides so it would fit inside the pipe & not overhang the metal plate. I also drilled some centered mounting holes, that I later copied on to the plywood. I wanted the pad to extend to be flush with the pipe edges, so traced again using the pipe itself: Lined up & drilled hopes in the plywood. Added the bolts, and pre-tightened nuts on the with a washer on the nut side to pull the hex head of the bolts into the wood. That way the bolt heads are inset to the wood and won't spin when I go to tighten them later. Put the bolts in, put spray adhesive onto the plywood, lined it up & stuck it on: Test fit onto the backrest:
-
A couple shots of the "frame" mostly finished. I ended up putting a couple bends into the flat spots to angle the mounting plate "in" to the bolts (shown later).
-
Now to weld them on. As luck would have it, I ran out of welding wire with about 1 inch of welding left and had to run to the store for more...
-
Next up, I wanted to add some angle support bits. I'm not sure they're needed, but I had the pipe and wanted some practice notching. I mounted the Harbor Freight tube notcher into the bench vise. Being my first time doing this, I spent a fair amount of time holding the pipe against the backrest frame & measuring, re-measuring, and re-measuring angles to be sure. After a while, I ended up with 2 copies of angled support beams: And this is where they'll go:
-
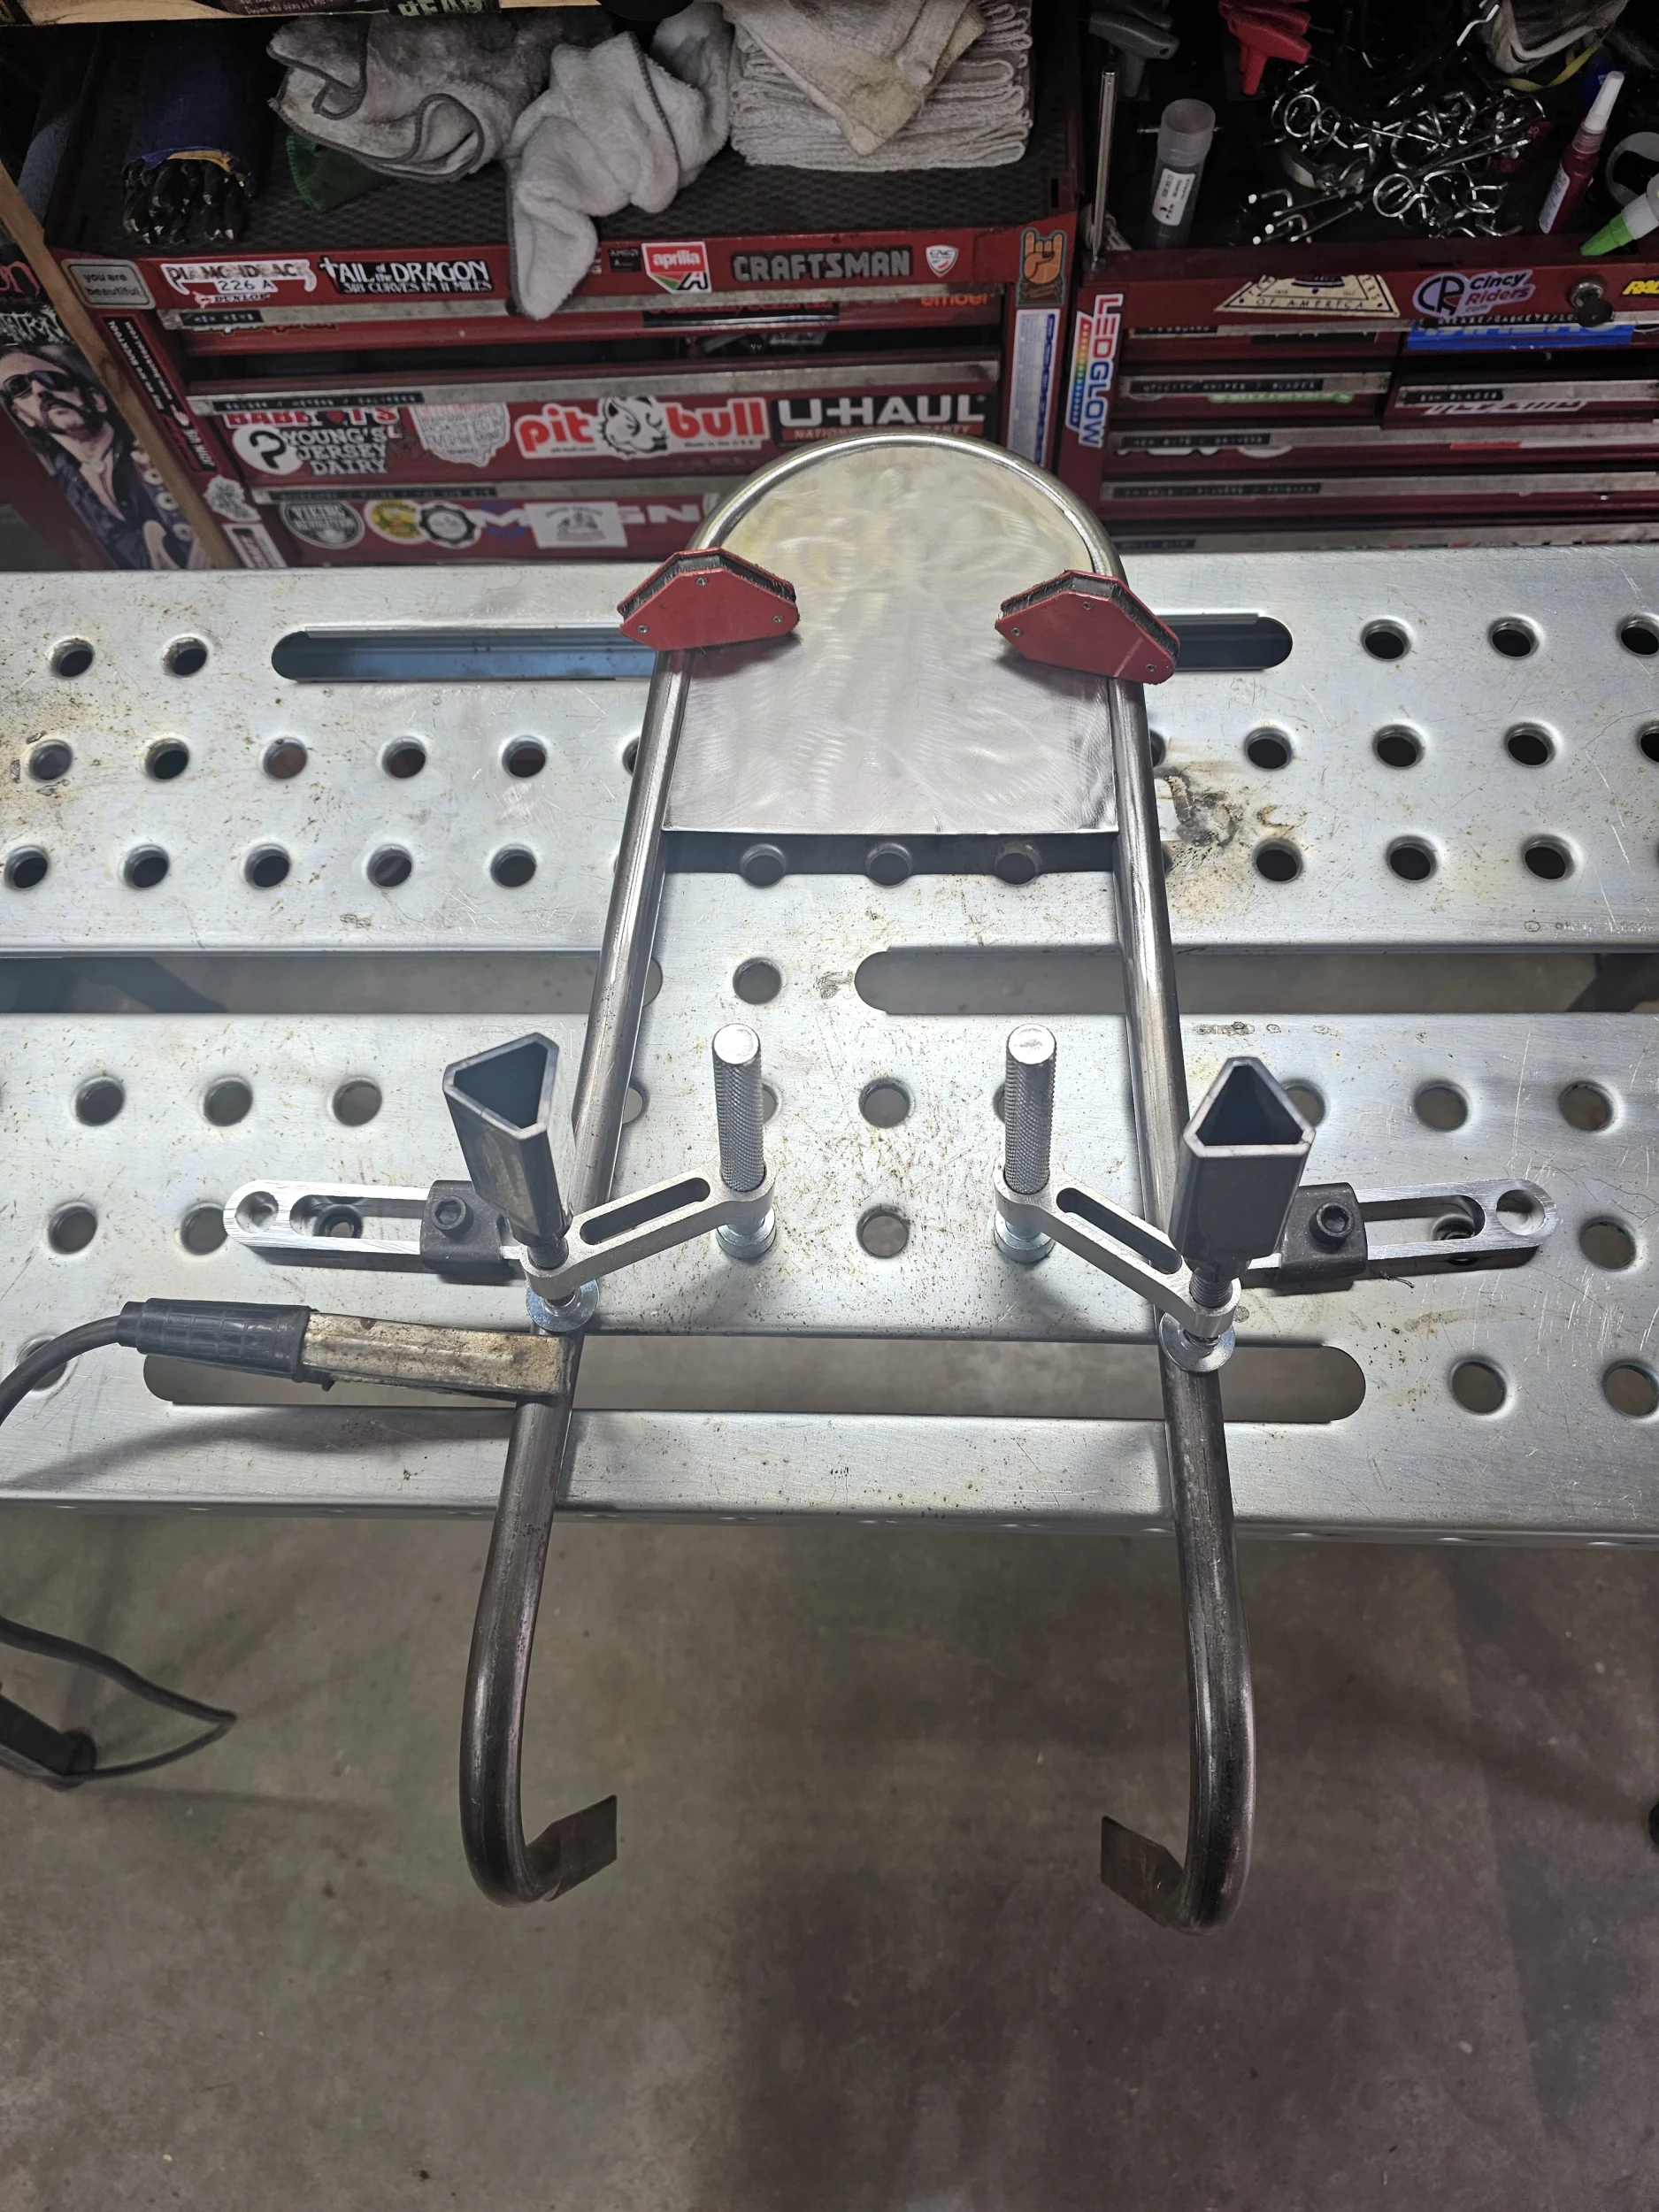
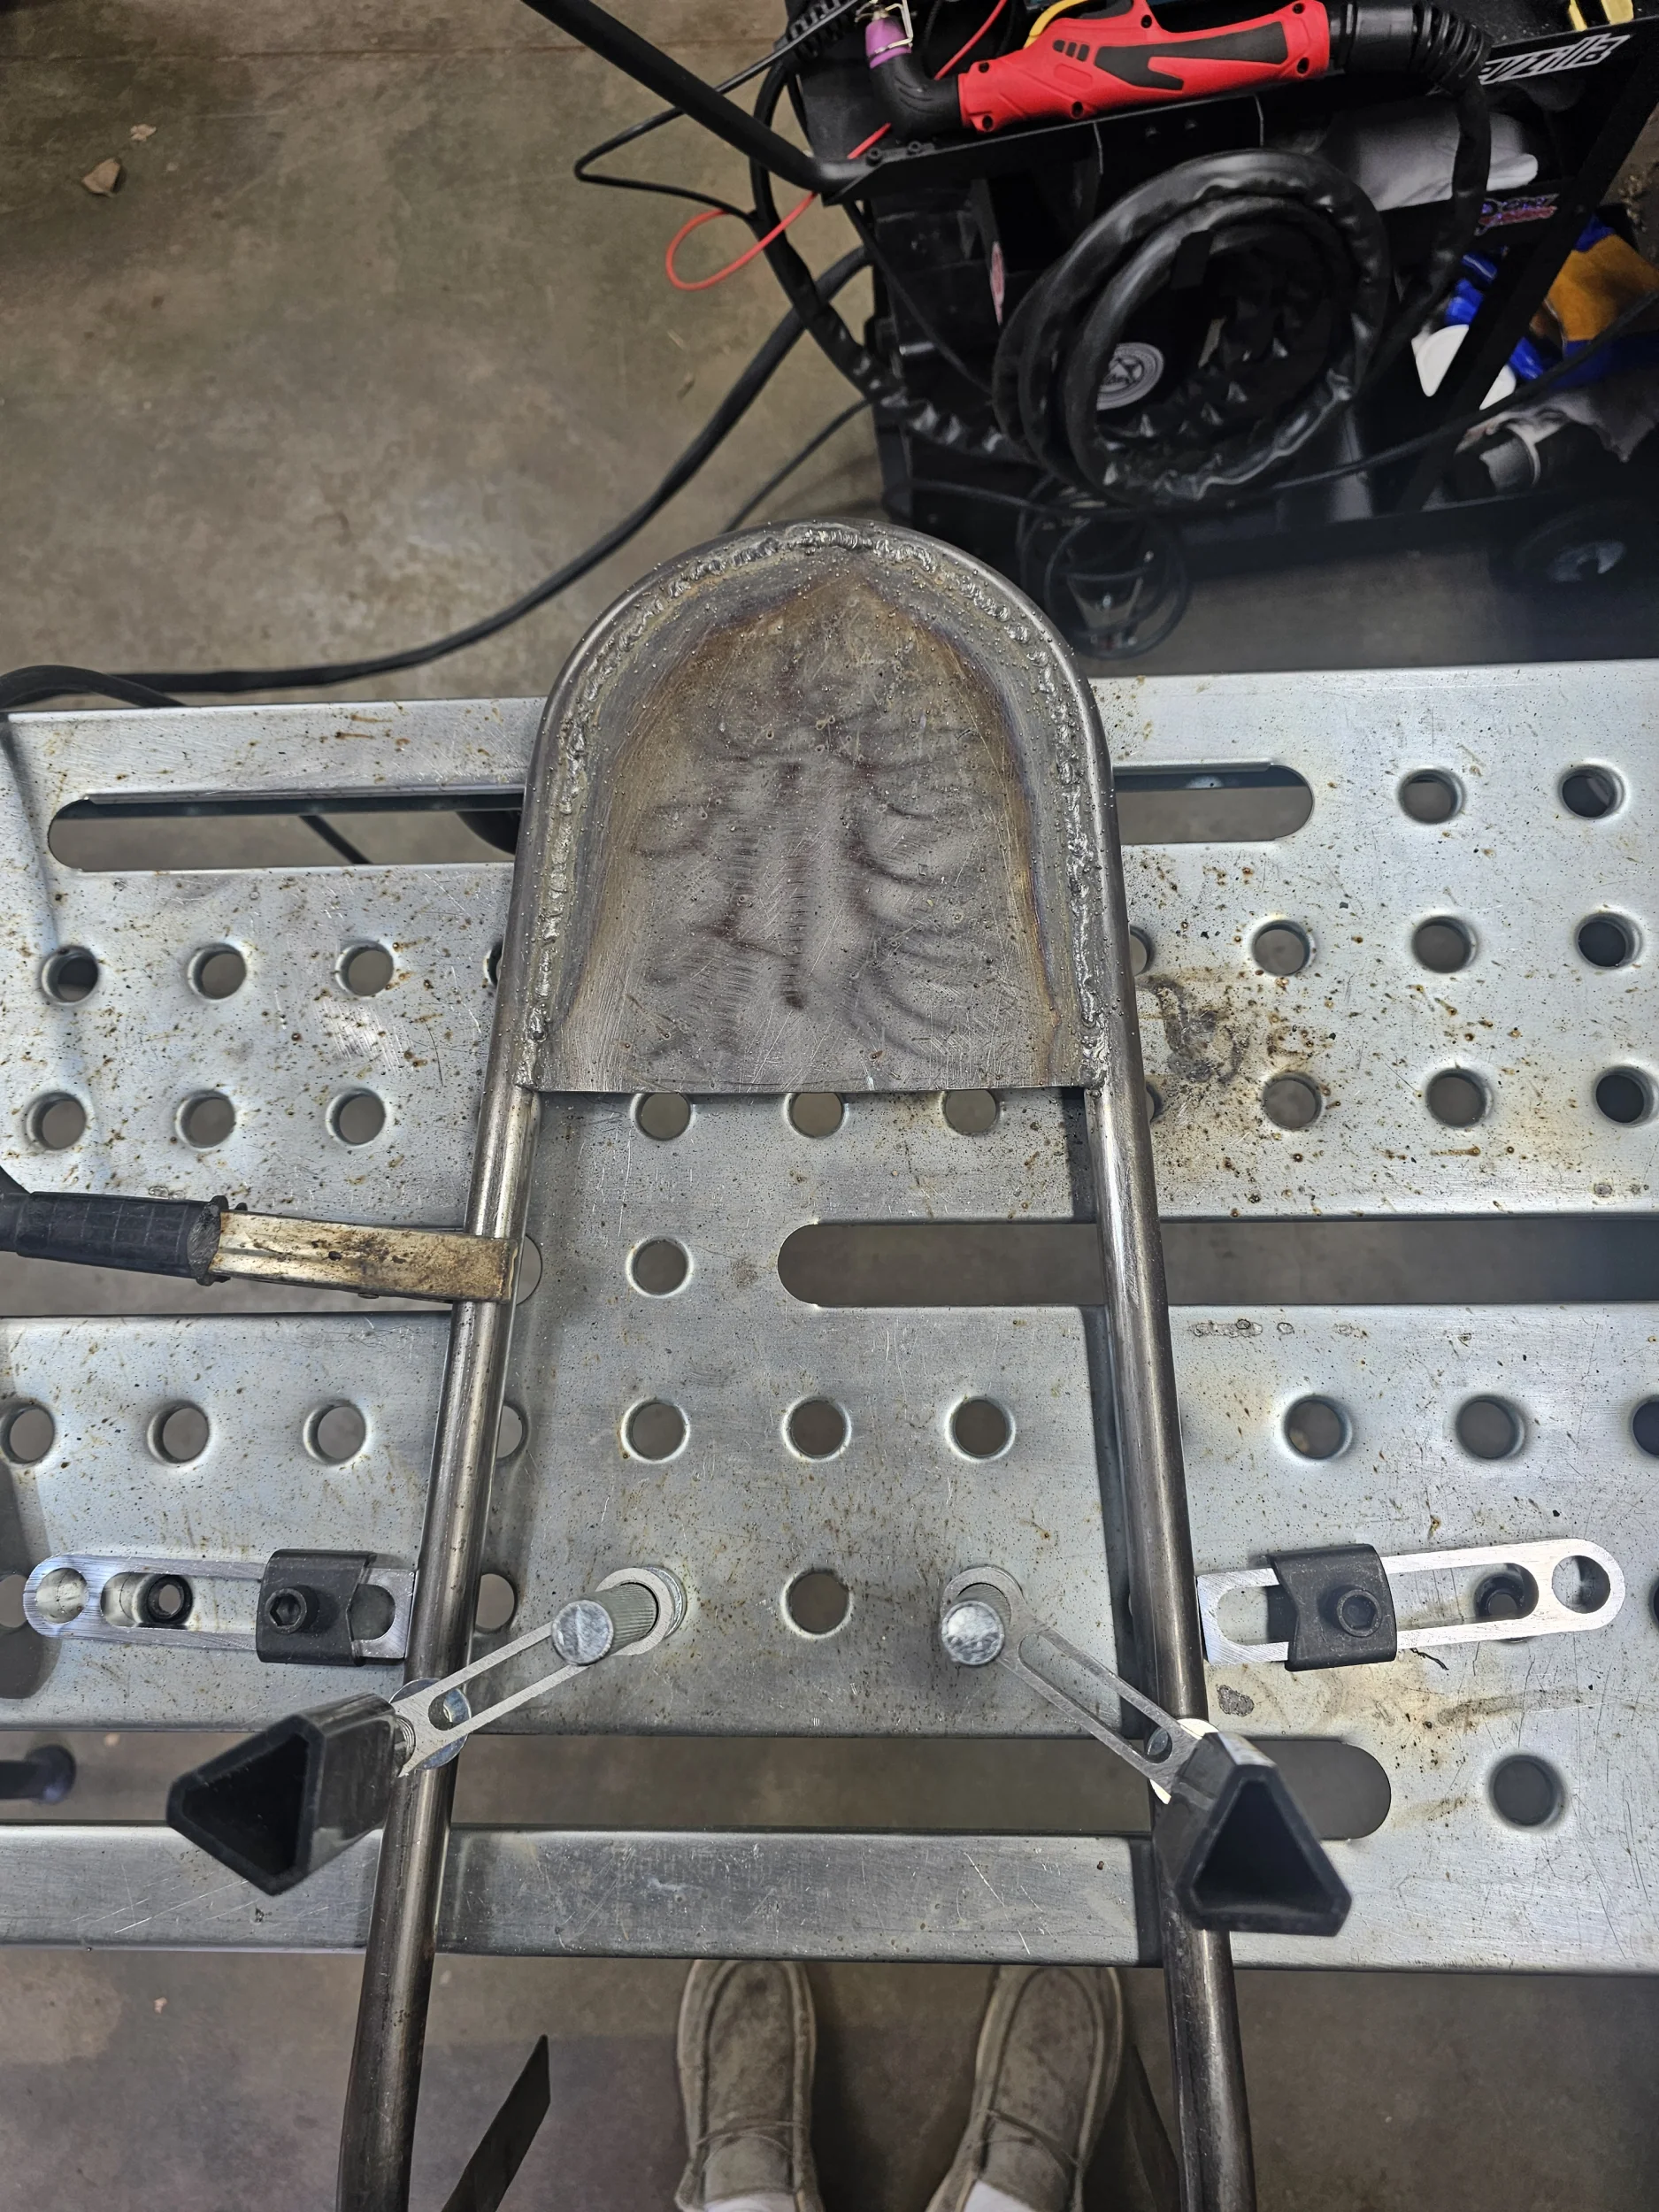
I traced & cut at a point that would let me mount the plate to the back of the pipe, inset juuuust a bit, so the support + pad added later would sit "inside" the pipe surrounding it vs on top of it. This is the "back" of the backrest. Lined up & clamped down on the welding table with some welding clamps & magnets. I used the clamps bolted to the table on the left & right to "squeeze in" the sides a bit. Grinded the plate clean (cause of course I forgot to before lining it up in the previous picture). Then re-attached everything and added a few tack welds. Finished the weld all the way around: And some quick cleaning with a flap disc:
-
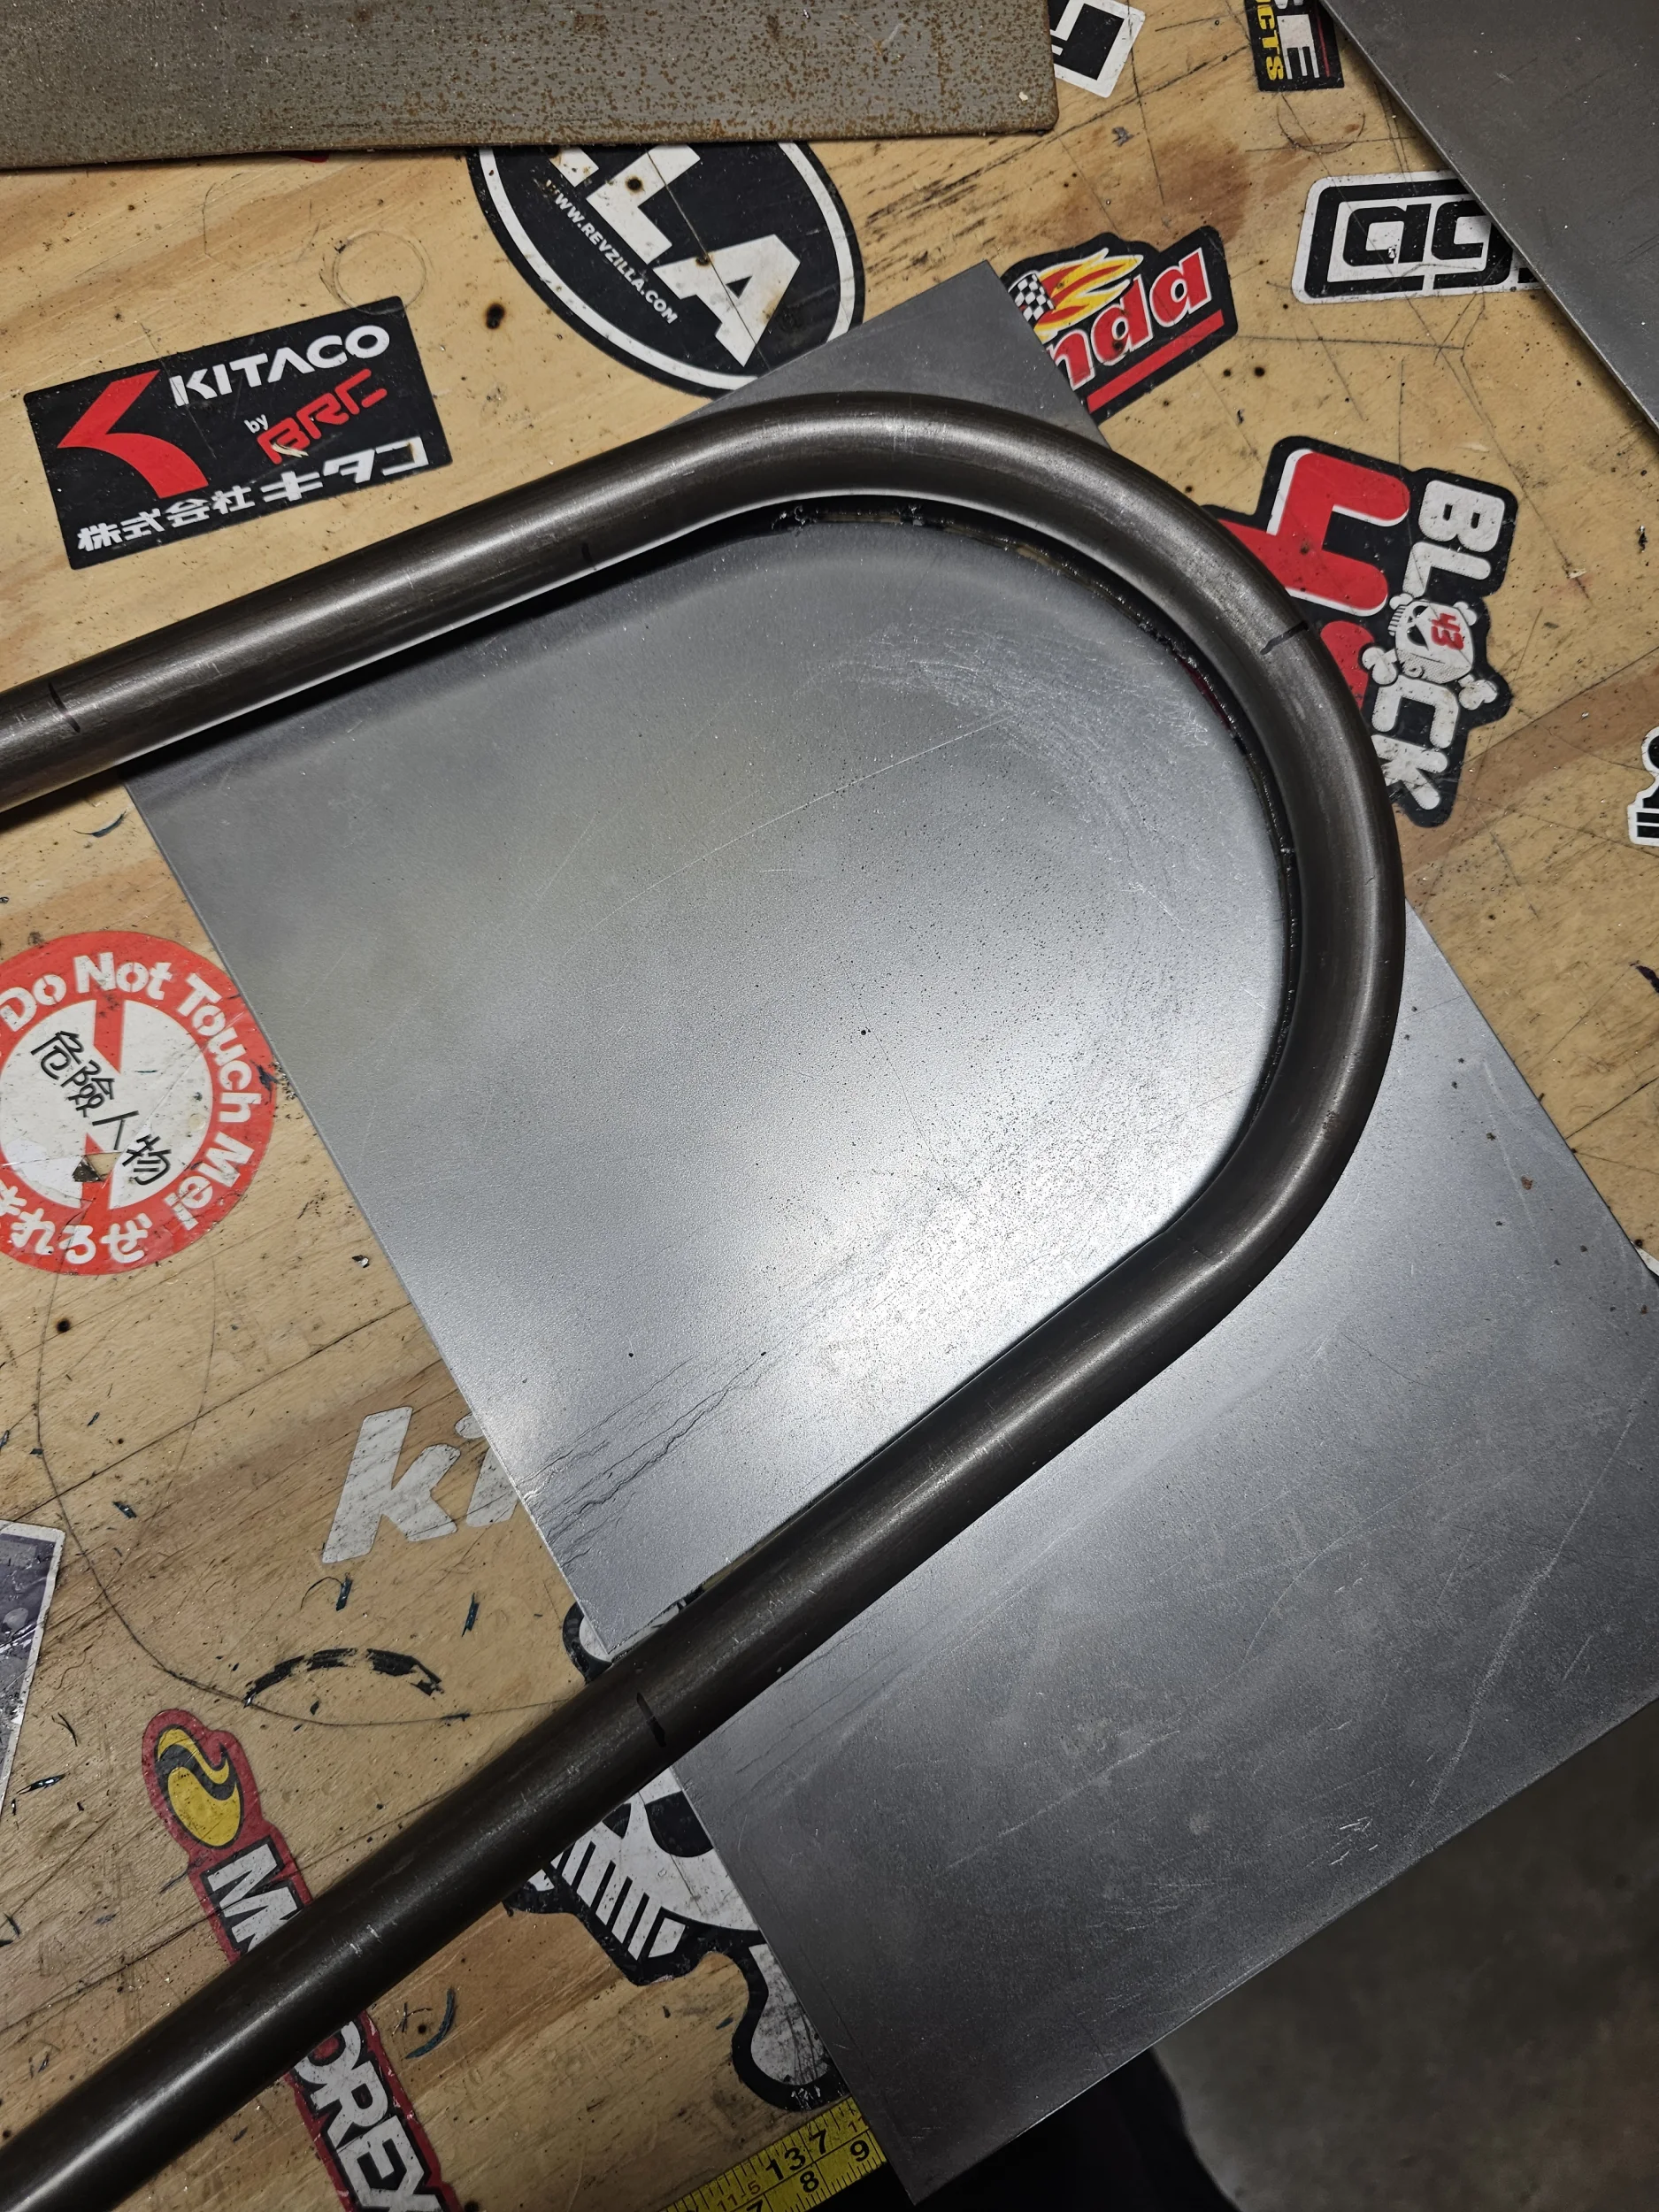
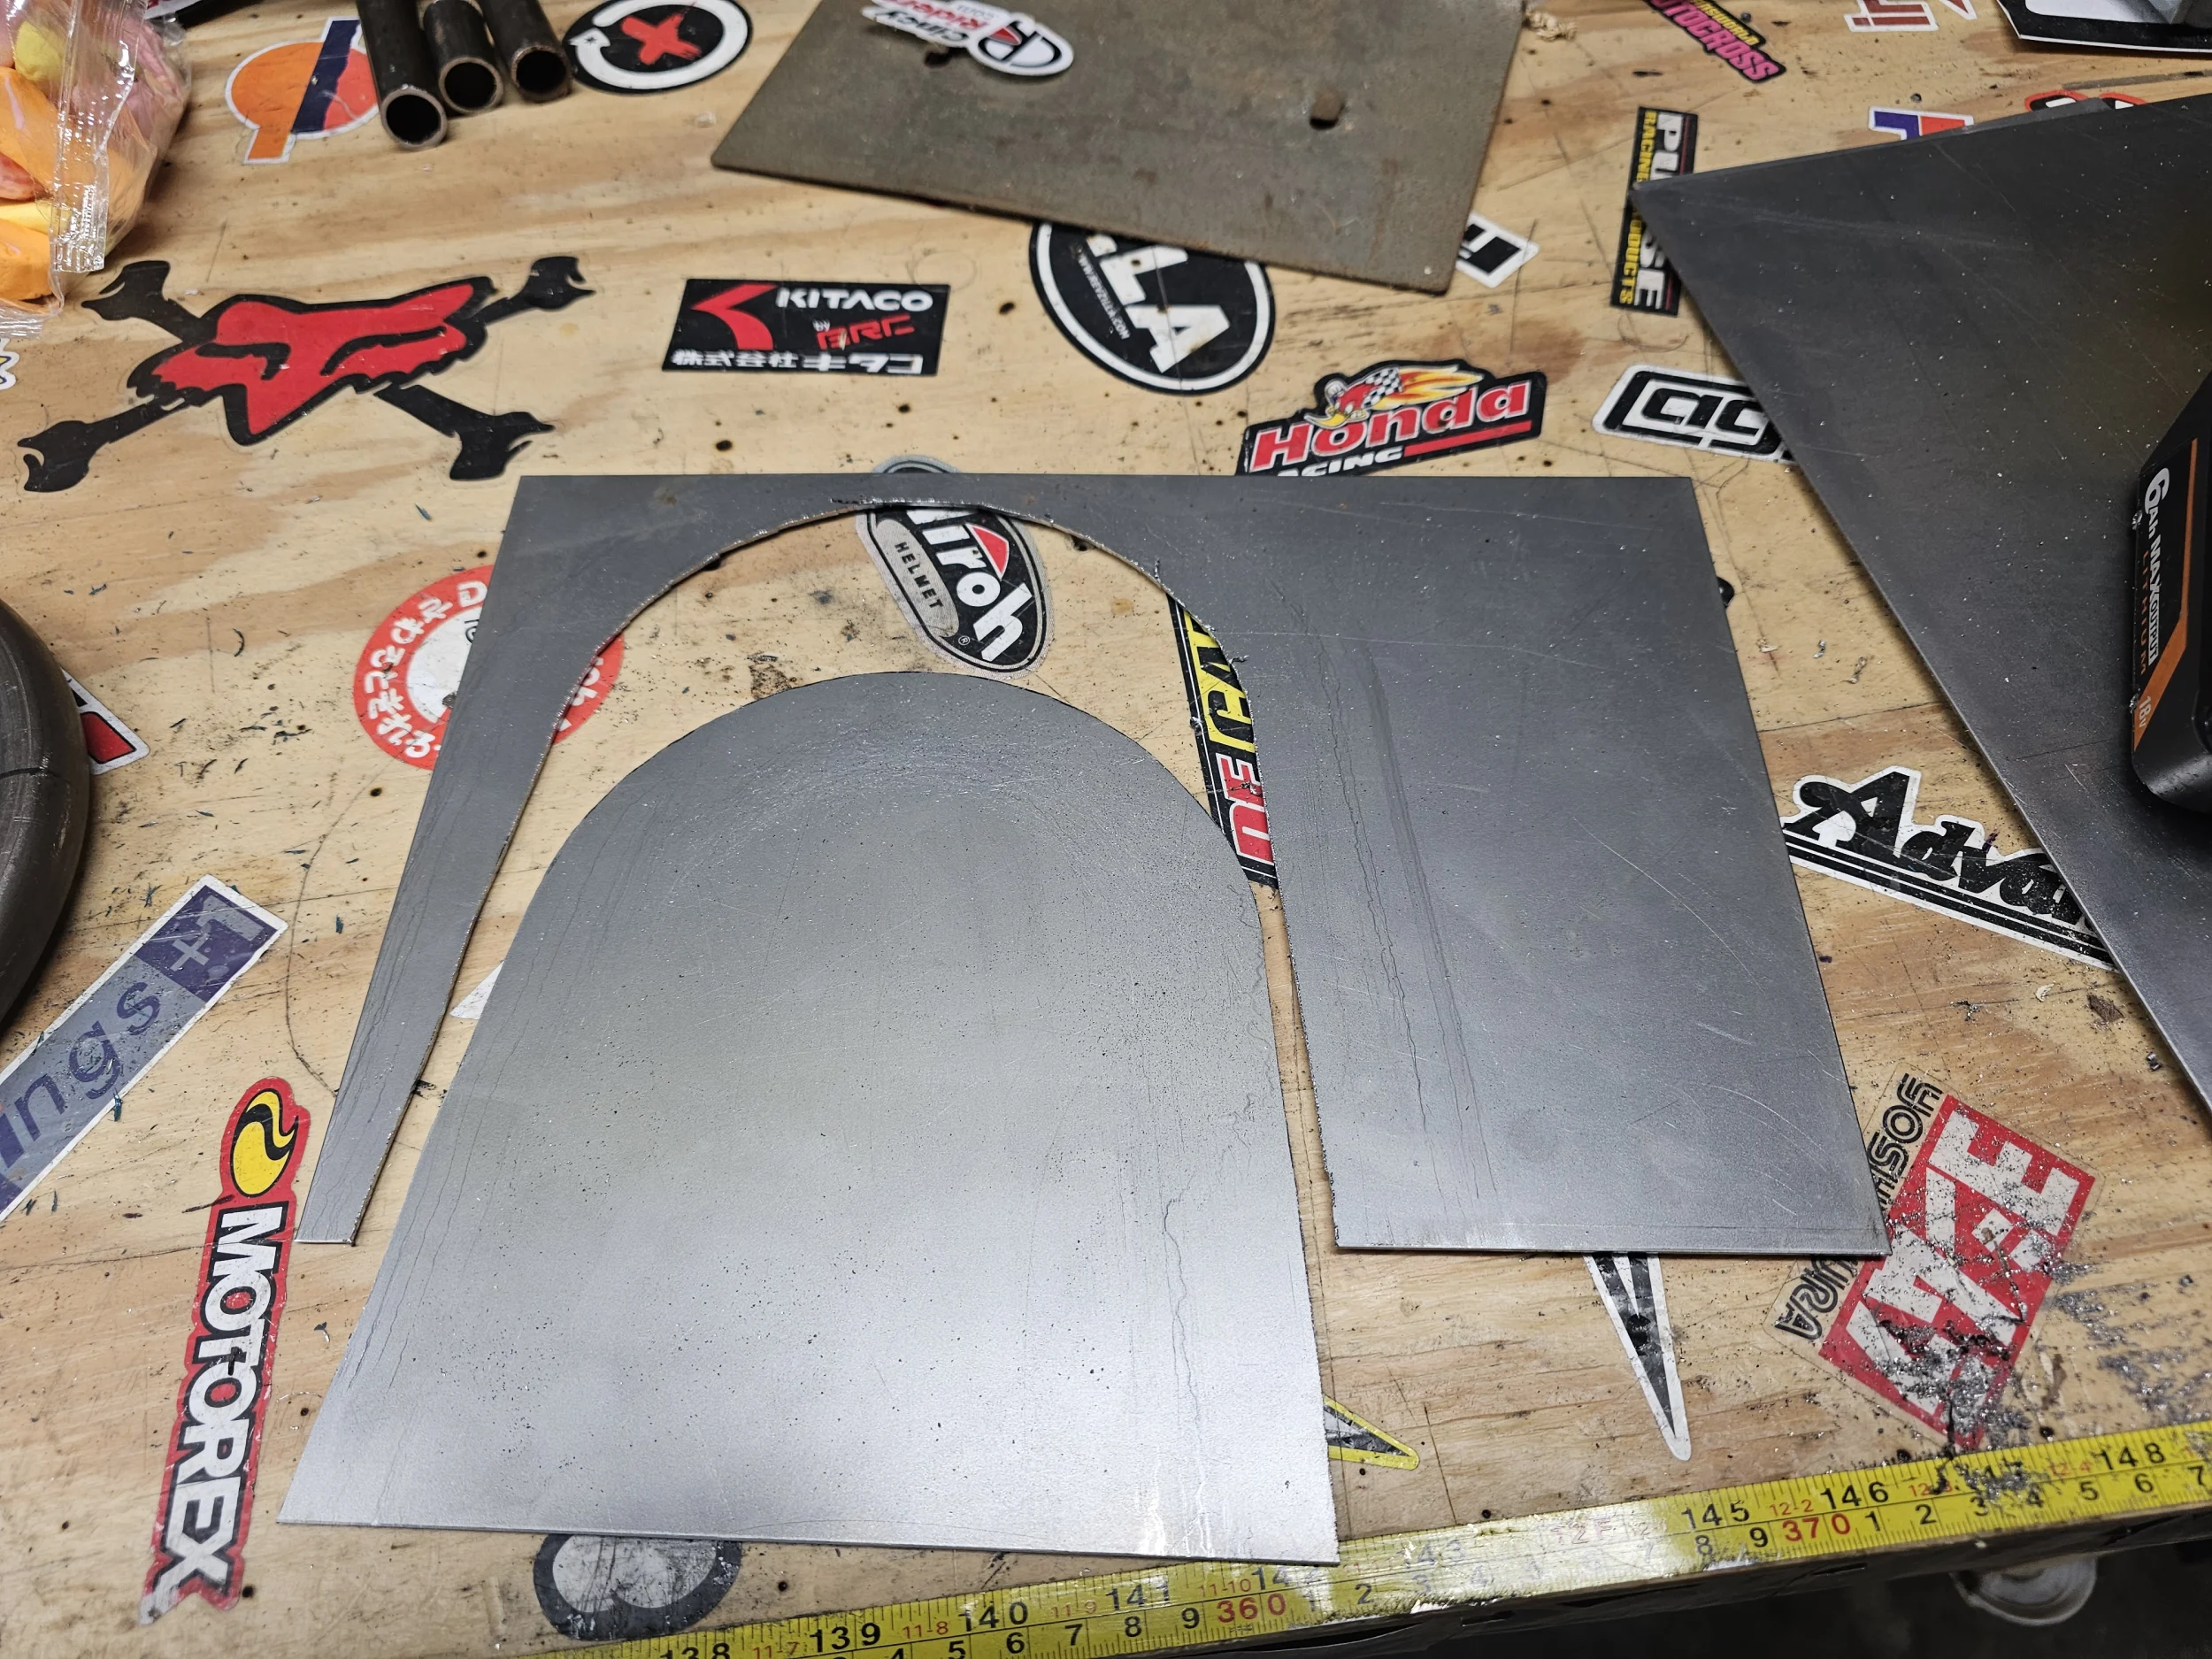
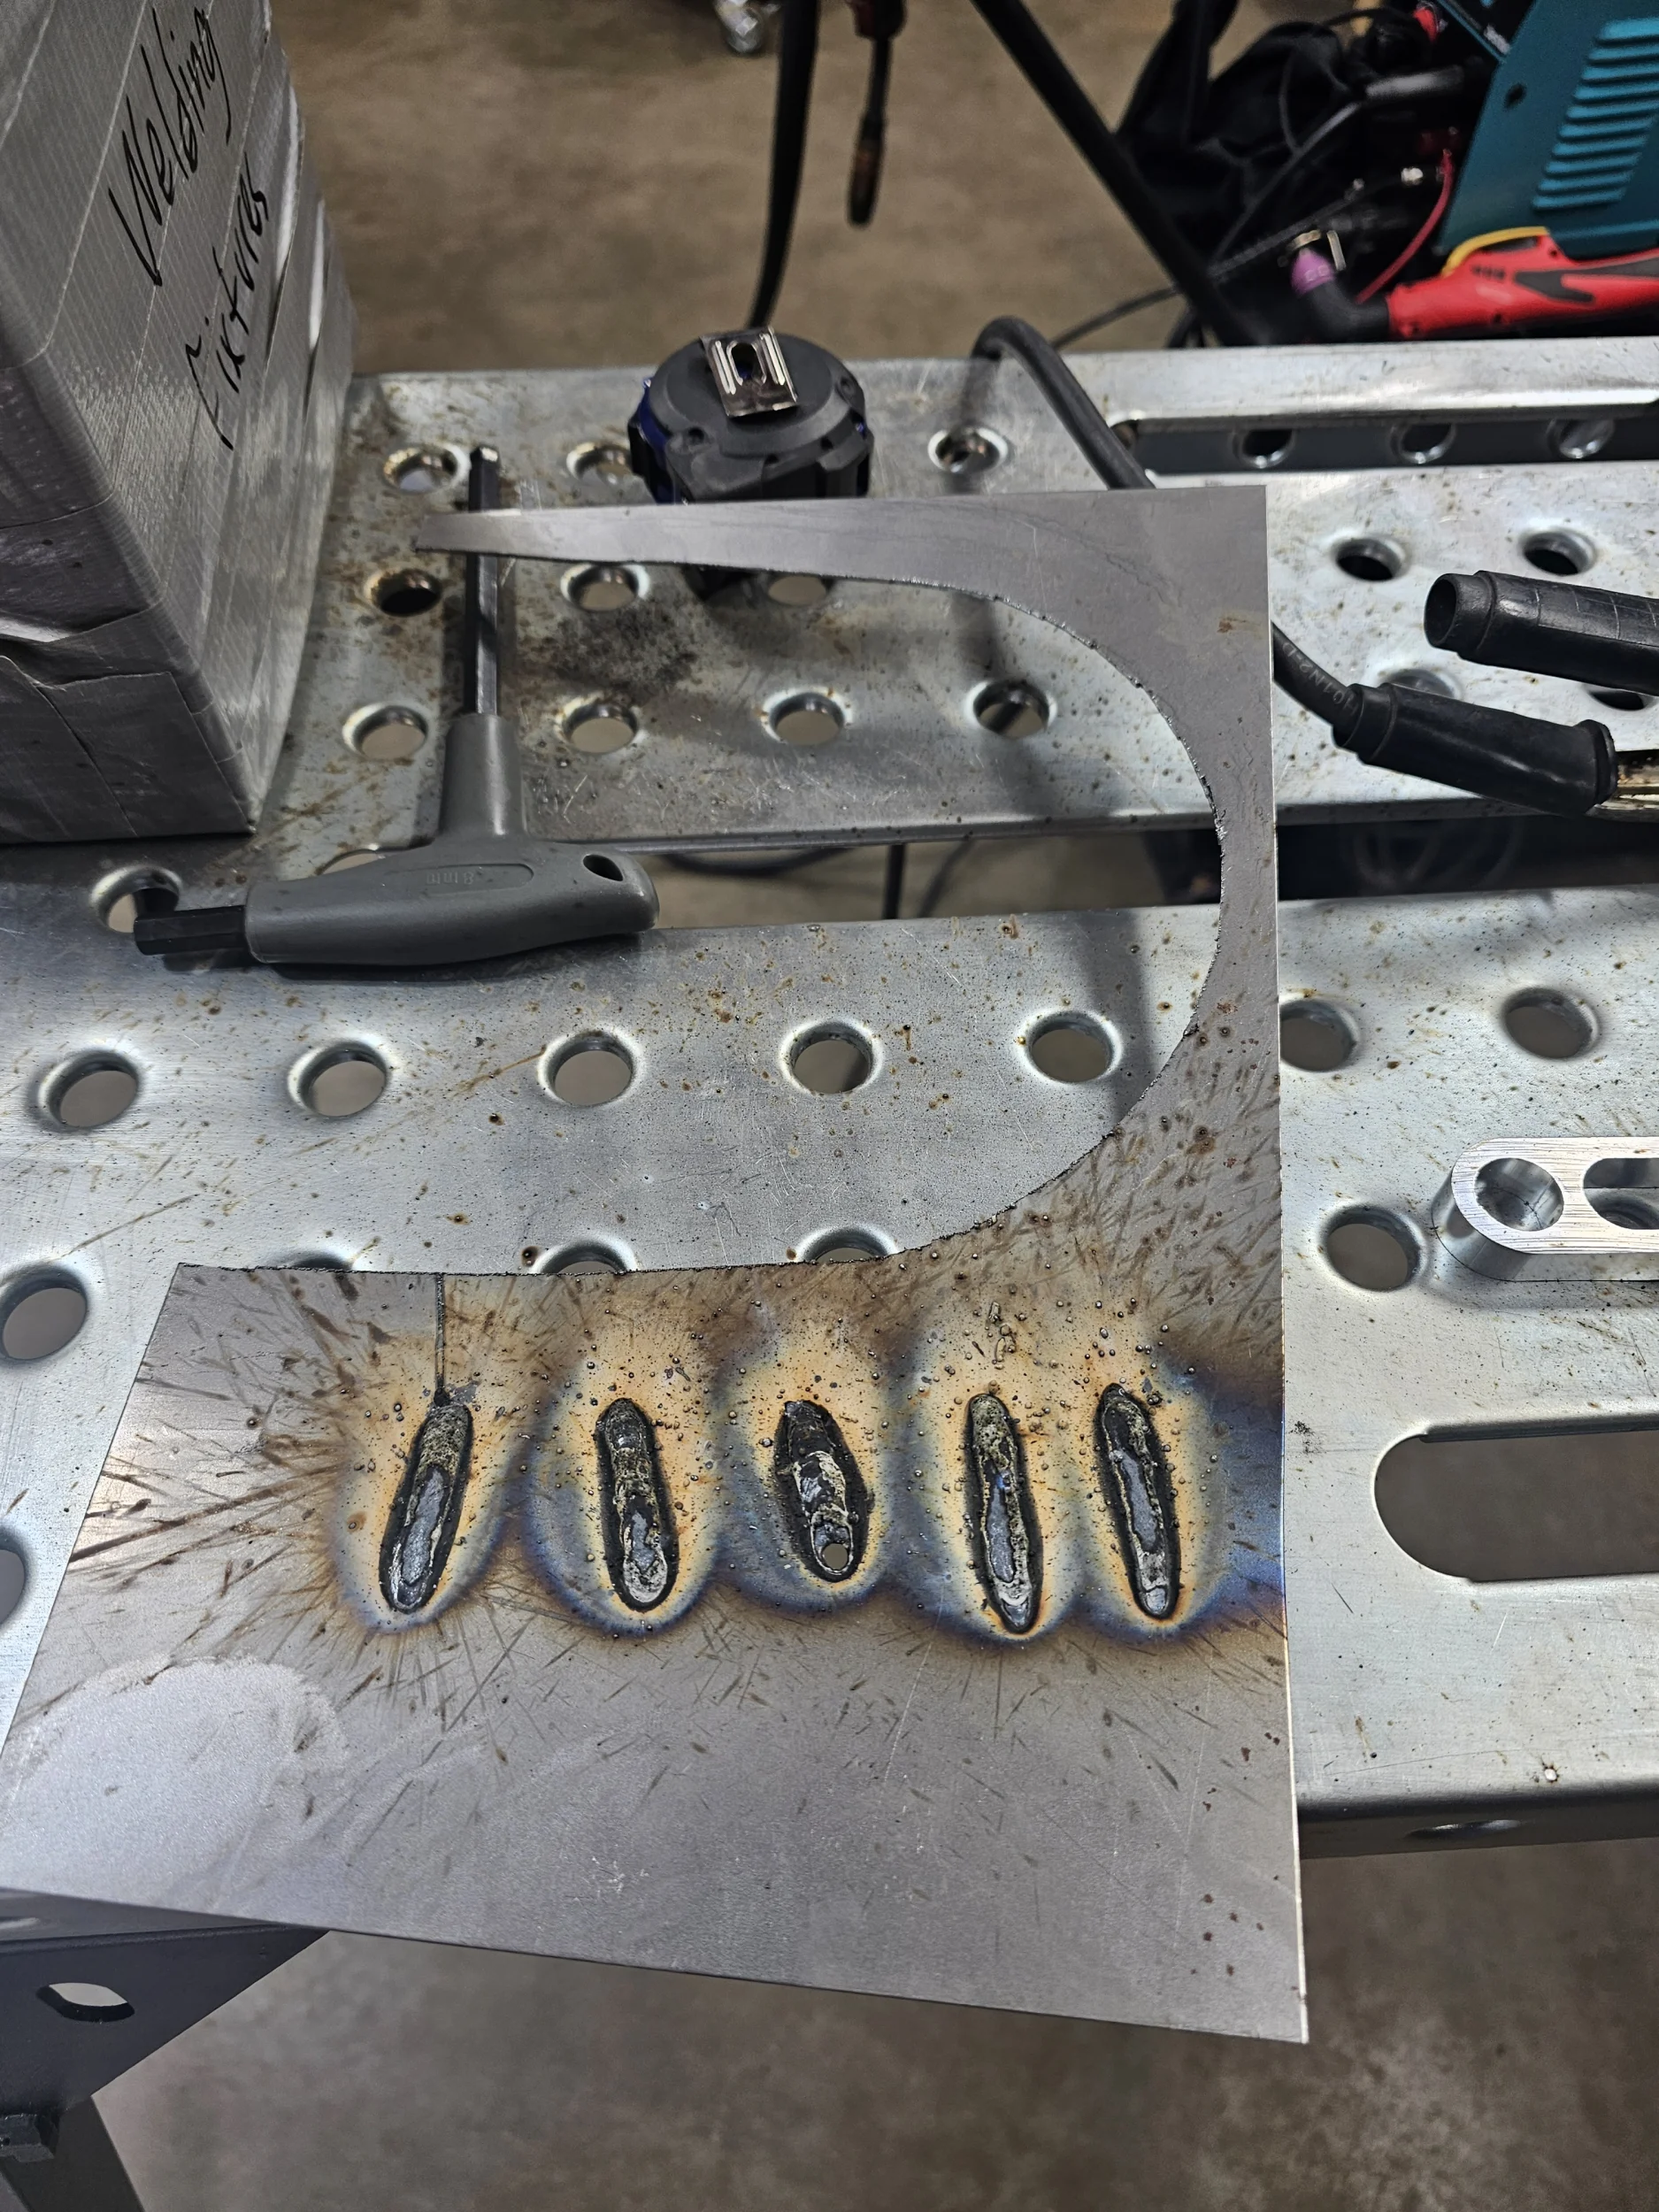
Next up was using some thin steel sheet to attach the padded backrest to. I just laid the top of the pipe down & traced with a tungsten carbide metal scribing pen: I cut the plate out with a jigsaw + metal blade. Quick, easy, accurate & clean. I then did some test welds at different speeds/power to make sure I didn't burn through the thin plate.
-
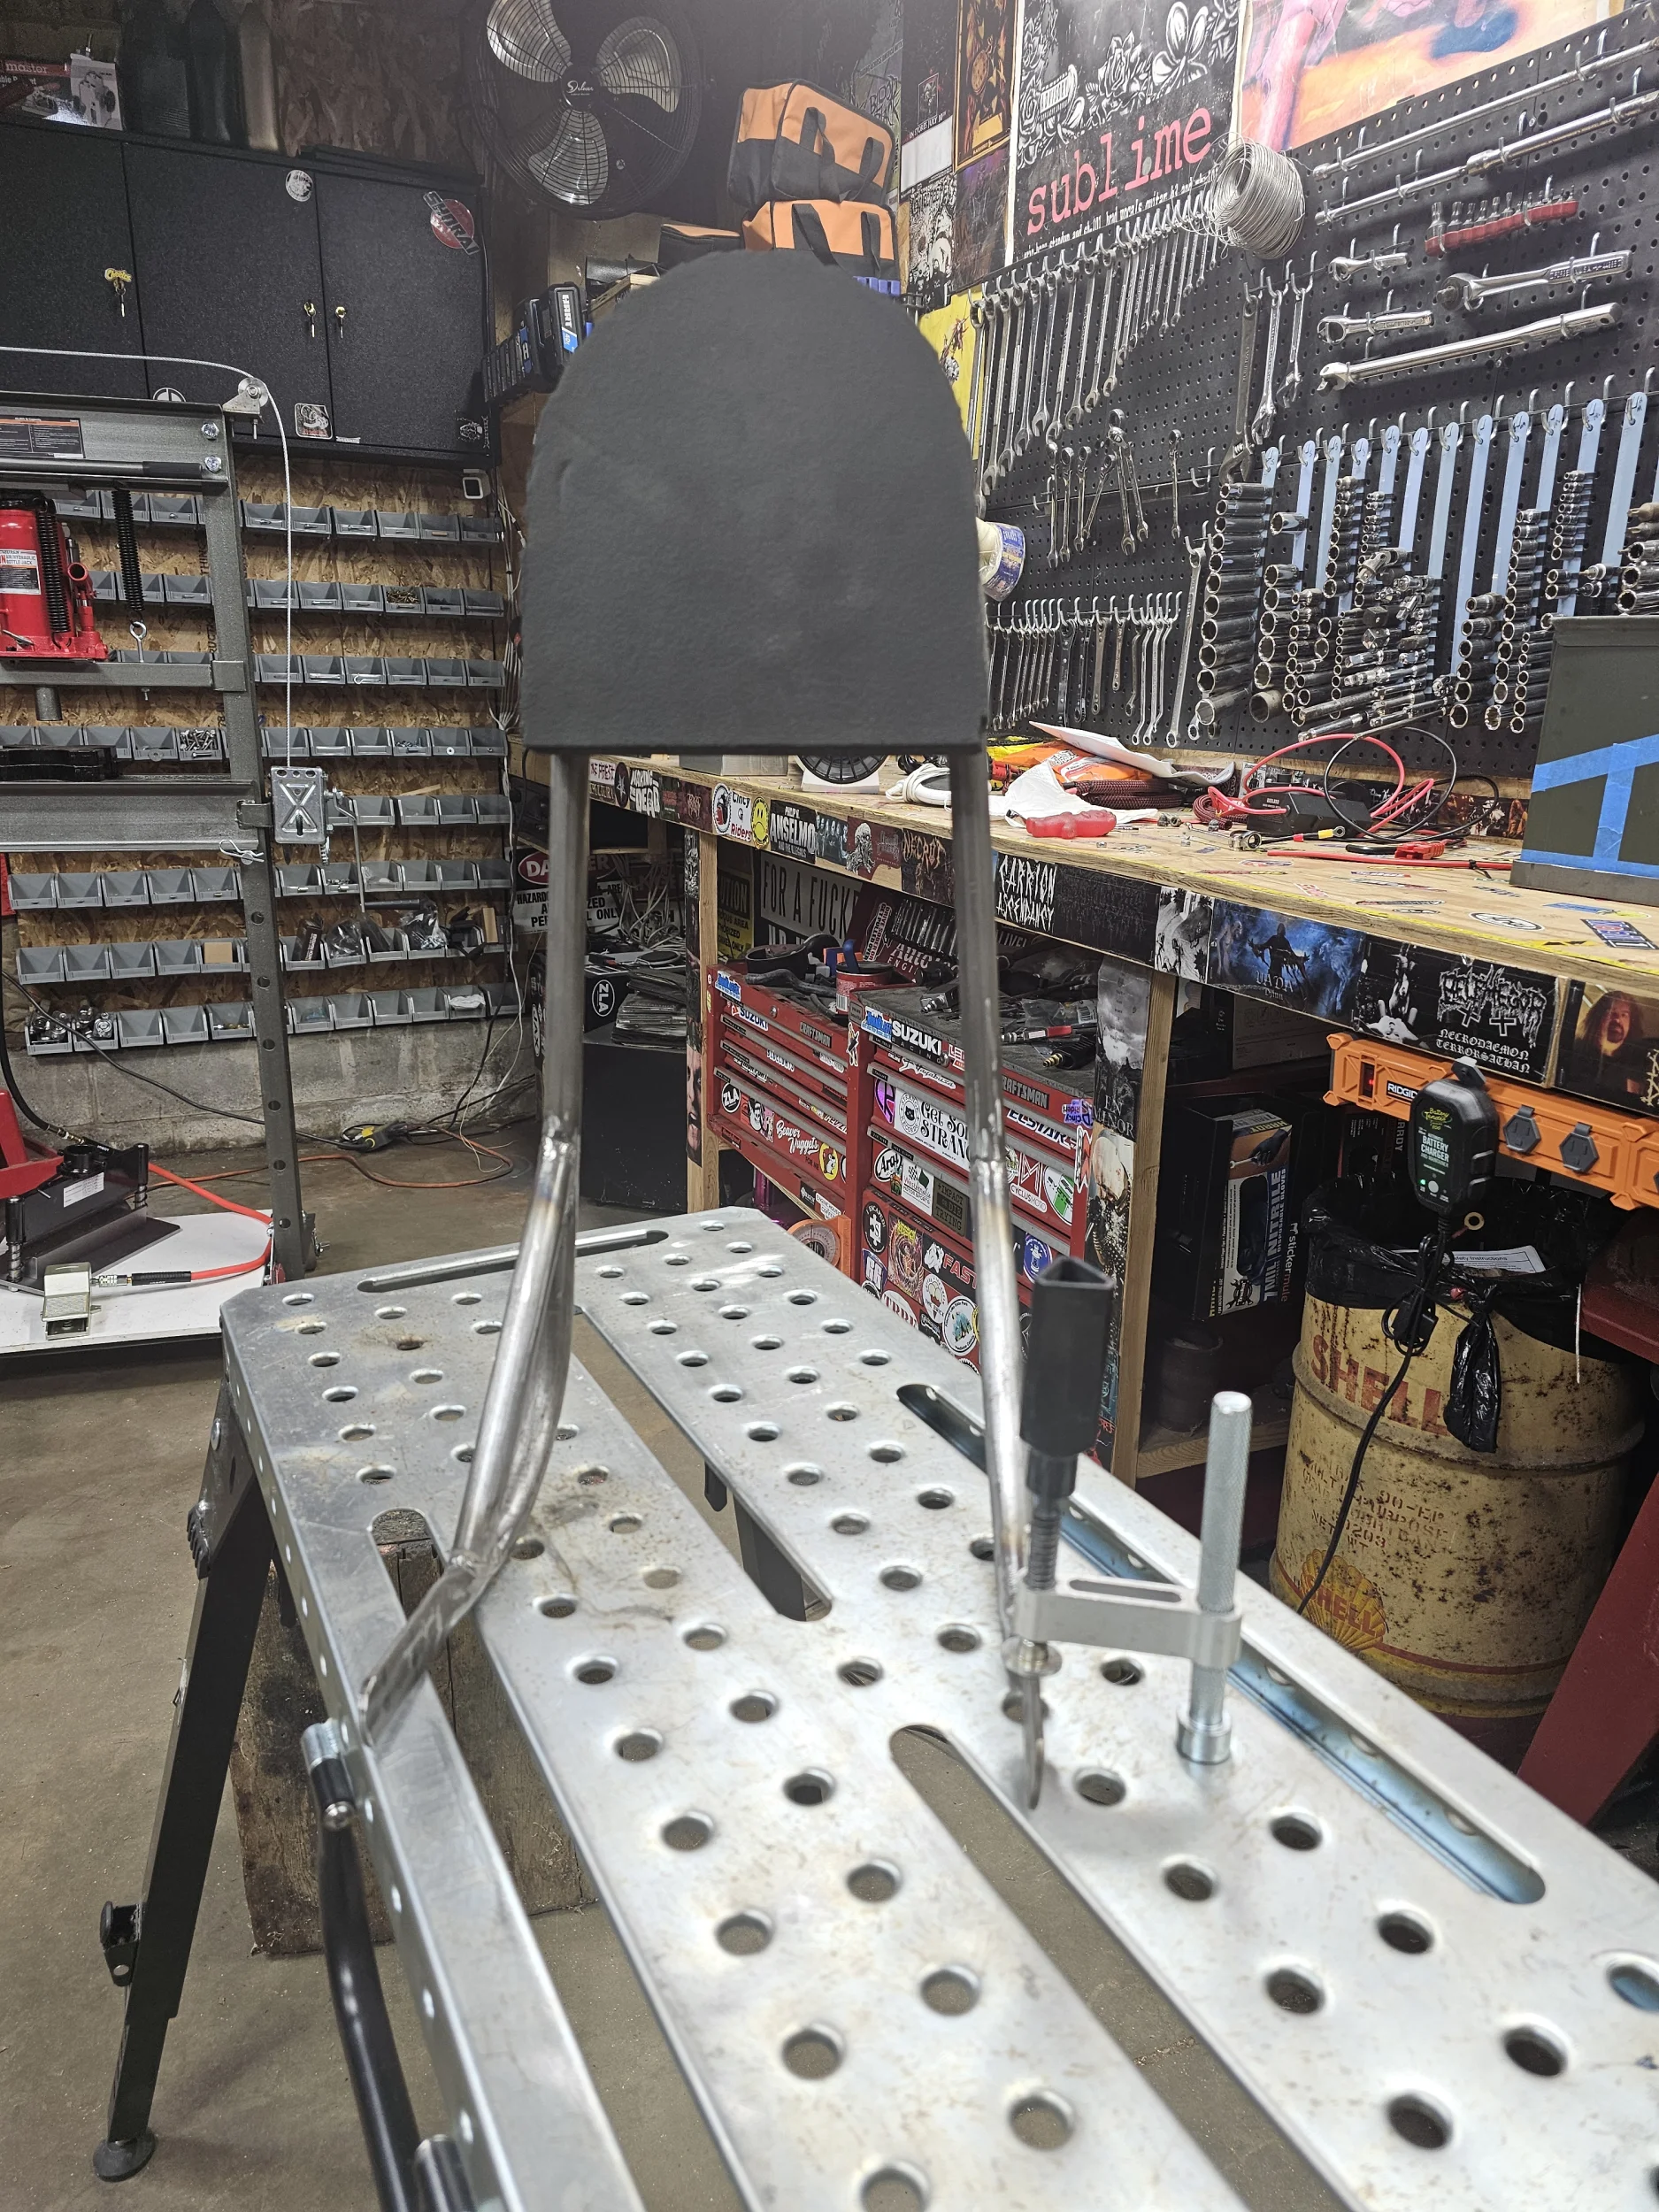
Here's version 2 & upgrade of the DIY pillion backrest. I wanted to re-do the backrest using tubing, so went to the outlet of a steel supplier in the area and bought a ~10ft or so section of 3/4" steel tube (don't remember the wall thickness). Around the same time I was looking into simple DIY tube bending options. Here's a shot of the tube stock for reference. Outside of the link above, I didn't really take pictures of me grunting and throwing myself into the pipe bender. But here's a stand-up shot of the main frame of the backrest after the first few bends. Ignore the pipe laying on top... Just did that for weight for the picture so it'd stand up without tipping back. I was pretty happy with it at this point. It was too wide at the opening - but I expected that - and planned to do minor bending by hand to adjust it later on. Pro tip (a.k.a. amateur tip that is obvious to pro's): Mark the middle point + regular increments on whatever stock you're bending. This makes it drastically easier to get equal bends at equal places. Example: I should've marked the middle of this pipe, then every inch through the ends. That would've given me known equal distance to begin the other bends from. Because I didn't do that marking above, one of the horizontal sections ended up ~1/2" lower than the other. I had to straighten & re-bend that side to get the equal. Having those incremental marks would've given me known equal places to start from, avoiding that. After the bends were finished, I took the pipe ends to the hydraulic press to mash down the ends to flatten raids that the mounting holes would be drilled into later.
-
The most frustrating part for me & my tool set at this point was cutting metal. Even 1/8" plate is frustrating. I've added a few tools since, but for this version used a sawzall + metal blade for the longer/straighter cuts, then a jigsaw + metal blade for the smaller/finer cuts. After the cuts, bench grinder + belt/disc sander for cleaning. Also - cutting & grinding/sanding metal into shape gets really messy... Metal bits & dust everywhere. Especially frustrating when I'm too lazy to cover my other motorcycles. This $15 magnet roller from Harbor Freight works great, helps a ton with the cleanup, and is small & easy to get out of the way when not in use.
-
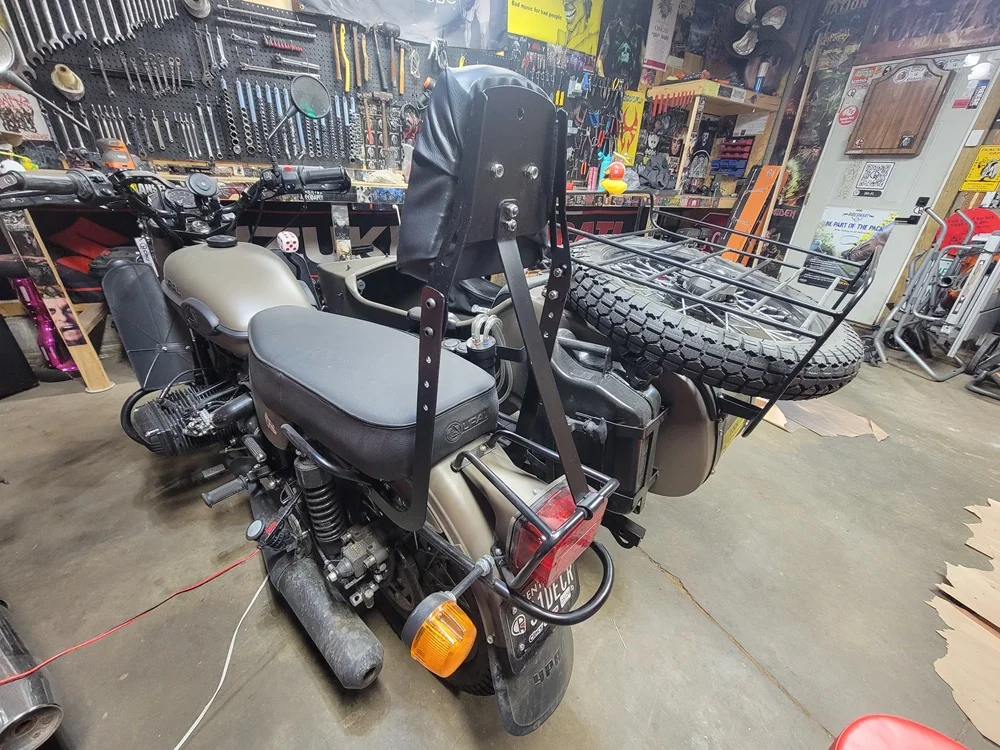
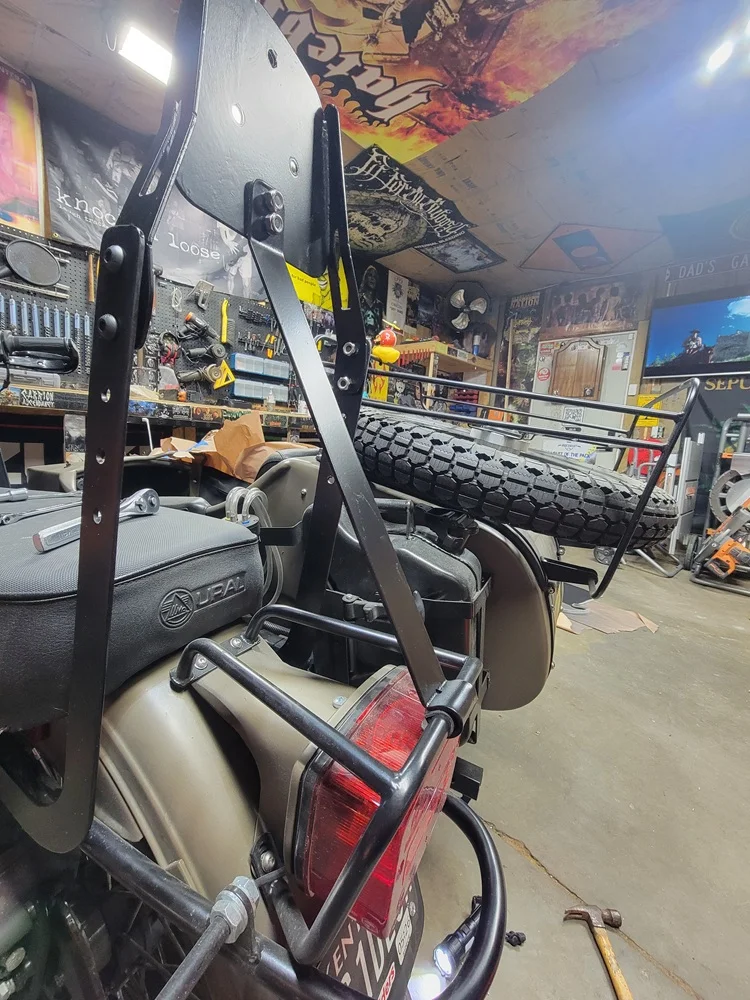
Then came time for the pad + pad backing + wrap. The pad was a $15 Husky outdoor "kneeling mat" from Home Depot. This one is thicker and MUCH softer than a cheaper Harbor Freight option I also checked. I put the metal backrest "face down" on a piece of 1/2" plywood and traced it, adding another inch or 2 to the lower portion for added size. Then, I traced the plywood shape onto the kneeling mat and cut that out. This is my first ever upholstery work. It was painful, slow, and took me 2 tries to get something I was happy with. I completed it once, then tore it off and started all over again learning from my mistakes. The fabric is black faux leather vinyl from Michael's. I didn't take pictures of the back of this, but imagine a LOT of staples. Tip for those as bad as me at this: Use extra fabric so you can stretch it up & hide your staples/folds behind the plate your mounting it to (ie the metal backrest plate). Here's a front + back shot of everything mounted up. For now, I drilled a small hole into the bottom of the steel support beam and put some steel wire through it to avoid it popping off the taillight protector metal.
-
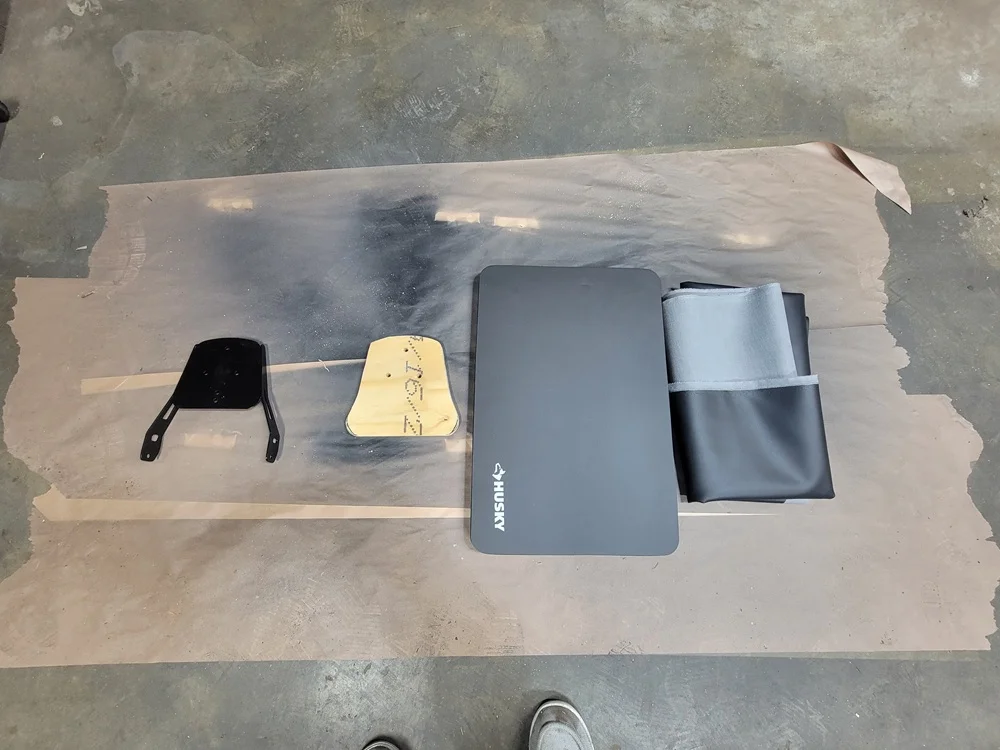
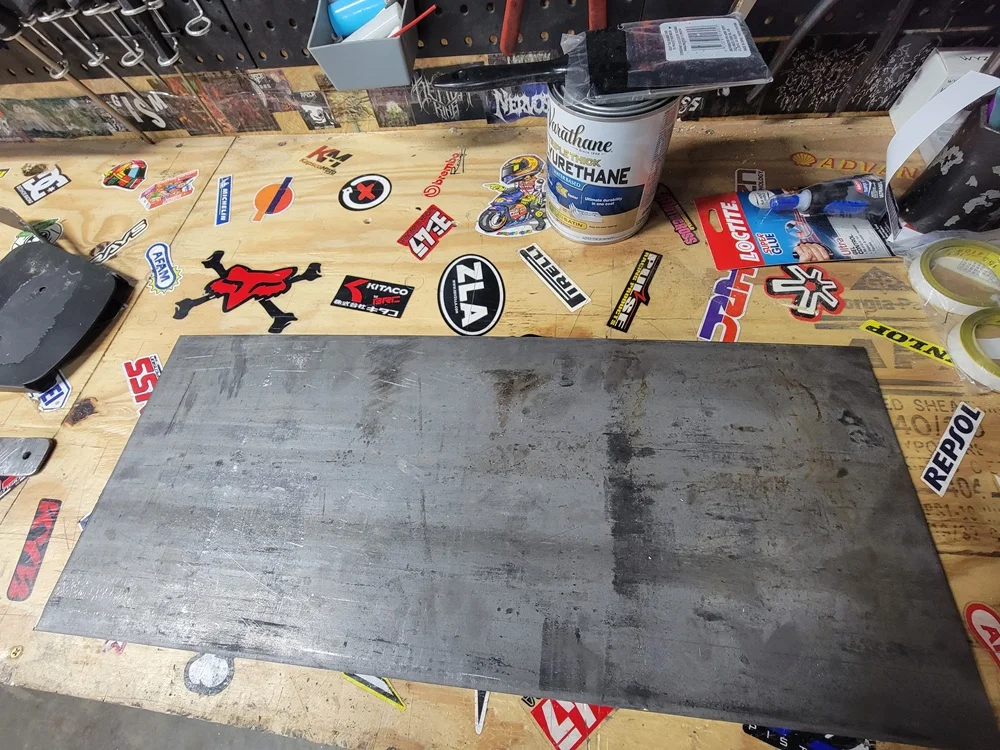
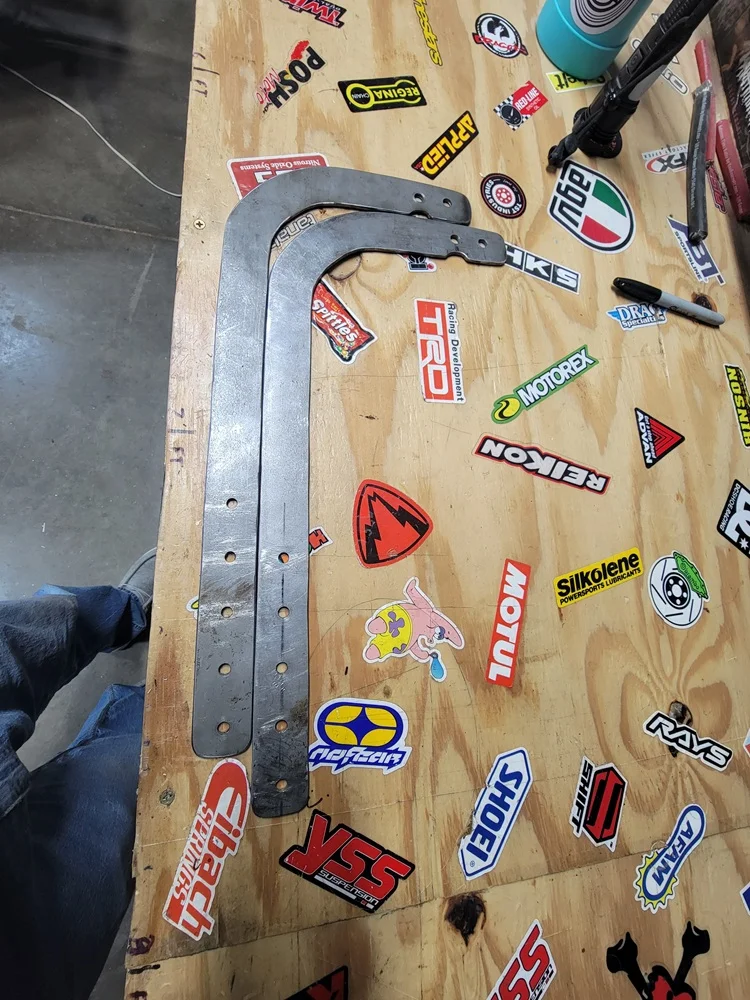
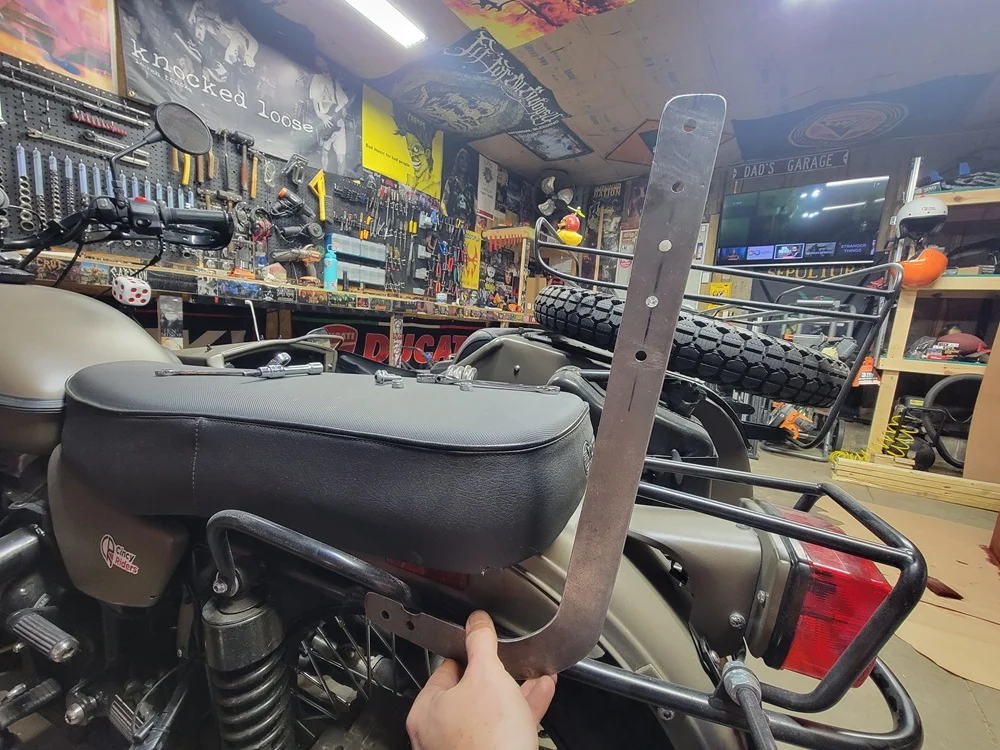
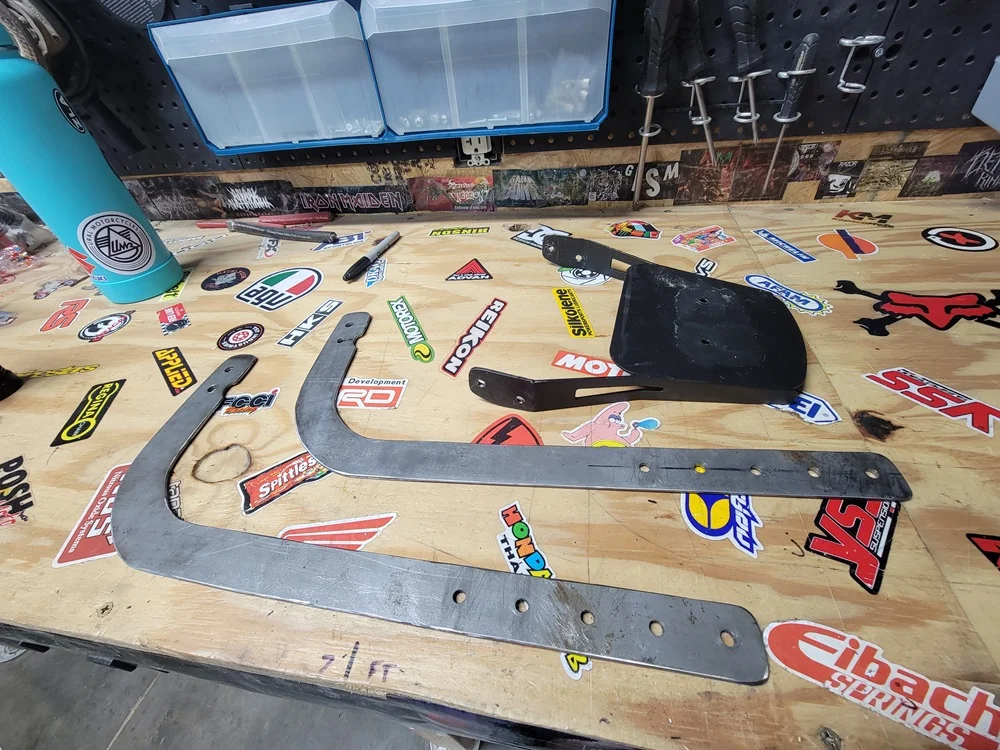
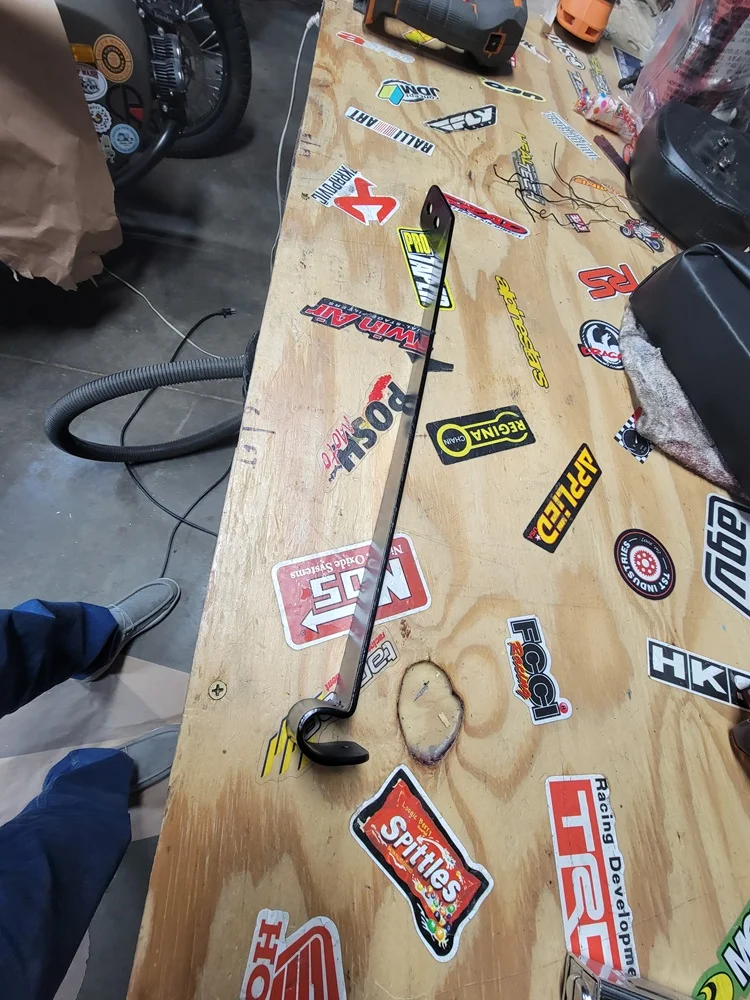
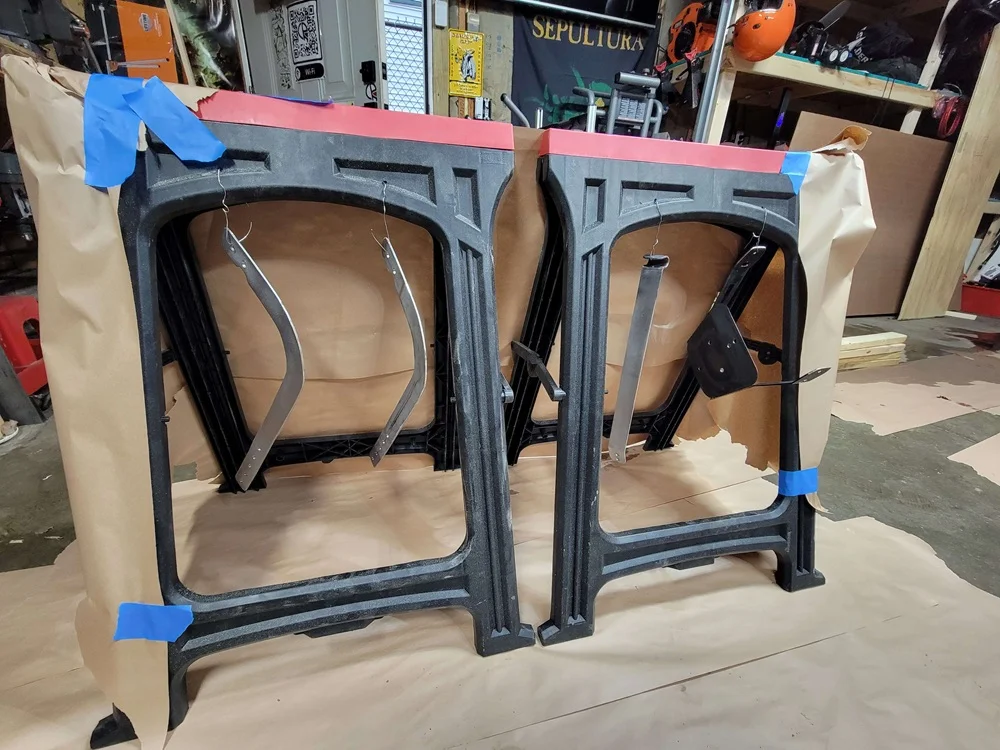
I ride with 2 passengers fairly often on the Ural. One problem has been passenger fatigue after sitting behind me for a while due to not having a backrest. Raceway Ural used to sell a passenger backrest ($200), that requires their rear luggage rack ($235). I blow a lot of money on motorcycle things, but $435 for a backrest before tax & shipping felt a bit absurd. So - I set out to make my own. The scrap yards around me had steel, but usually either too thick or random holes & cuts in the wrong places. So - I bought a set of two, 10" x 24" x 1/8" thick steel plates off eBay for $60.xx shipped. The steel plates as received: I started by mocking up shapes with cardboard (always keep spare cuts of cardboard on hand for this). Didn't take any pictures of this. After I was happy with the shape / size / etc, I traced the shape onto one of the steel plates twice & cut it out. I held the backrest side-rails to mark where i needed holes for attaching. I thought to add cascading holes incase I wanted/needed to adjust the height of the backrest (but I never did). Held up to the bike to make sure all was good. As you can see, I'm using the existing double-bolts that go on the passenger bars for this. I did buy longer bolts from Ace Hardware to accommodate. Here's a picture of the backrest itself. I got this for $15 at a flea market. It had more metal & different bits to it that I cut off, leaving what you see here (the black piece). I then mocked up a rear support for the back to be it plenty of strength (again with cardboard). Once happy, I traced + cut from the 1/8" steel plate. After cutting, I bent an angle into the top using my vice + 1 hand sledge. On the other end, I heated it with a propane torch and hammered it around a steel pipe I had laying around. This bent part will wrap around the taillight guard (as you'll see in later pics). Then I sanded everything & made a DIY paint booth with sawhorses and masking paper. Here's the first test-fit on the bike. I used some thin rubber material I had to wrap the taillight guard to avoid scratching it.
- Last week
-
 Derek changed their profile photo
 -
 Wohxela changed their profile photo
 -
 PaulaJ changed their profile photo
 - Earlier
-
 IPM Food Pantry joined the community
 -
Bikers For Christ IPM Food Pantry Benefit Ride
IPM Food Pantry posted an event in Community Calendar
untilJoin us for a Motorcycle Benefit Ride supporting IPM Food Pantry and help make a real difference in our community. The ride is $15 for riders and $10 for passengers, with all proceeds going to support the important work of IPM Food Pantry. Lunch of hot dogs, chips and drinks included. Additional donations are always welcome for anyone who feels led to give above and beyond. IPM Food Pantry serves countless individuals and families who rely on this ministry to help put food on their tables. For many, this pantry is a lifeline during difficult times. Come enjoy a great ride for a great cause, and consider arriving early or staying after to tour the facility and see firsthand the incredible work being done to serve our community. Ride with purpose. Ride to make a difference. -
 grave_capitan joined the community
 -
Crazy late notice and I’m not sure how this events thing works exactly but I’m riding from OTR to rising sun, down to the markland damn. then across and up to rabbit hash and back. I’m probably leaving pretty early and plan to get breakfast at Main Street diner in rising sun. but I could go later if anyone wants to join but can’t make it
-
Derek joined the community
-
-
 Grave_Captain joined the community
 -
-
 Matt J joined the community
 -
PaulaJ joined the community
-
Wohxela joined the community
-
-
-
 benelliboy7 joined the community
 -
 Tim Miller joined the community
 -
 Bond008 joined the community
 -
untilGreater Cincinnati Motorcyclists This is not an event, just an announcement. For thosee of you who don’t use Facebook, we still want you! email me at : [email protected] and I’ll add you to the event announcement email list Will be used only for event info announcements and other important info or announcements from JD and the organizers. Email addresses will be kept private. Bill Garland
-

📢 GCM Is Moving to Facebook — This Isn’t a Real Meetup
Cincy Riders posted an event in Community Calendar
untilGreater Cincinnati Motorcyclists This isn’t a real event—no need to RSVP or show up anywhere. We just want to make sure everyone sees this update before our Meetup subscription ends. Greater Cincinnati Motorcyclists is shifting all ride planning and group activity to our **[Facebook group](https://www.facebook.com/groups/1241488646251760)** starting in 2026. Meetup has served us well, but rising costs and platform limits made the move necessary. ✅ Our Meetup page will shut down on **December 3, 2025** ✅ Ride planning will now happen on Facebook ✅ Members can propose rides directly in the group (with organizer guidance) If you haven’t joined us on [Facebook ](https://www.facebook.com/groups/1241488646251760)yet, now’s the time! Thanks for riding with us—and seeyou on the new platform. -
untilGreater Cincinnati Motorcyclists \\*\\*\\* RIDE RESCHEDULED FROM TUESDAY, 11/4, TO WEDNESDAY, 11/5, TO EXPLOIT BETTER WEATHER. Exploiting beautiful weekday weather forecast for a lunch ride. Just under 200 miles on curvaceous NKY roads lined with changing colors, and possibly the best BBQ brisket in the area at Red State BBQ. (At least SWMBO thinks so.) If you're willing to take responsibility for your own decisions and safety you're welcome to follow along. Pace will be moderate but roadsare relatively twisty. All riders must be GCM members and registered for ride. Guests welcome as passengers. Full tanks and KSU at 10:00am.
-
untilGreater Cincinnati Motorcyclists Sorry for the last-minute notice on this one. Had late availability. Approximately 200 mile loop toScioto Ribber restaurant in Portsmouth. Ride terminates at Little Miami Brewing in Milford for the thirsty among us. Pace will be moderate but I'm building some curves into it. Anyone who is willing to take responsibility for his or her own safety is invited to come along. All participants other than passengers must be registered GCM members. KSU at 9:30am with full gas tanks.
-
-
.thumb.jpg.1e1201b8b65917f9630d7425b0d04db6.jpg) cjbuehler_ changed their profile photo
cjbuehler_ changed their profile photo -
-
untilGreater Cincinnati Motorcyclists I am going to ride down to hungry mother state park in Virginia (you’re invited) on the south side off the ‘back of the dragon’ (va 16) ride some favorite roads around the area on Monday and come back Tuesday. A 2 night adventure. There are plenty off yurts,cabins in thee campground or Marion,va is 10 mins away fora hotel/motel. I reserved campsite #5 at royal oak campground. Should hold a coupler campers. Plenty off sites available for these dates. Saturday was full,so I moved it to a Sunday/Monday.